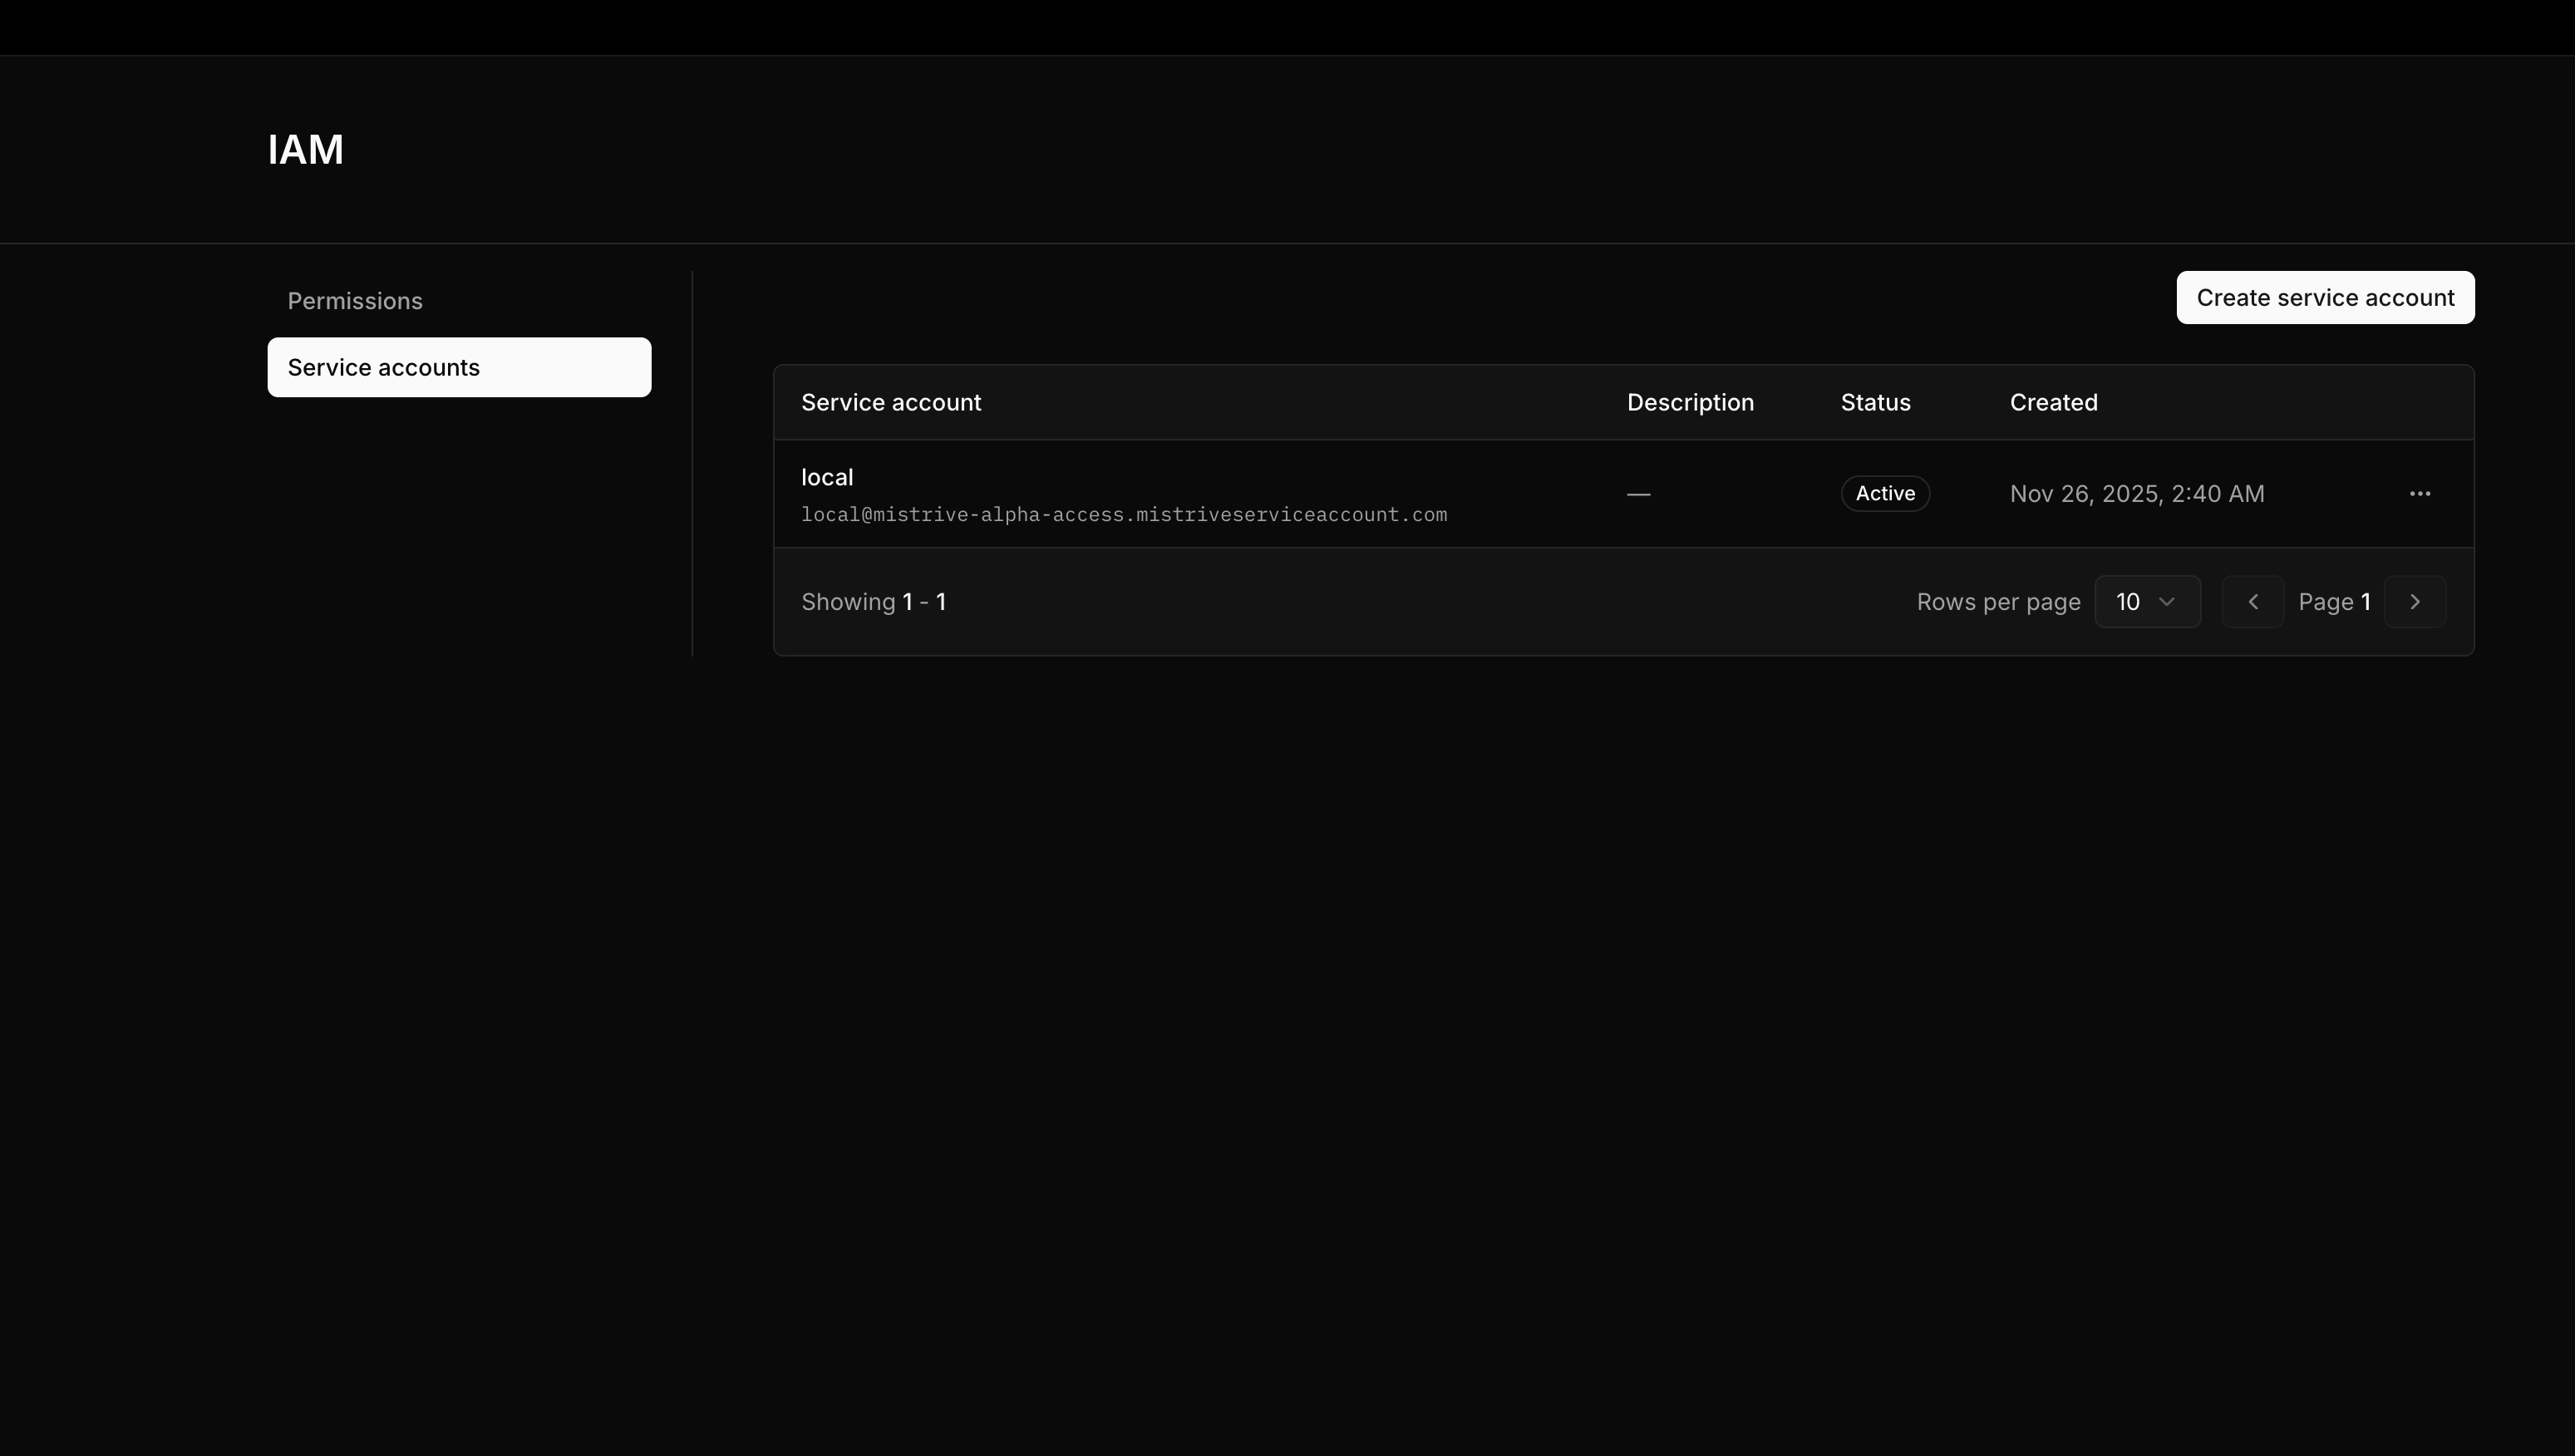
Creating a service account
Service accounts belong to projects. Navigate to your project, then open IAM → Service Accounts.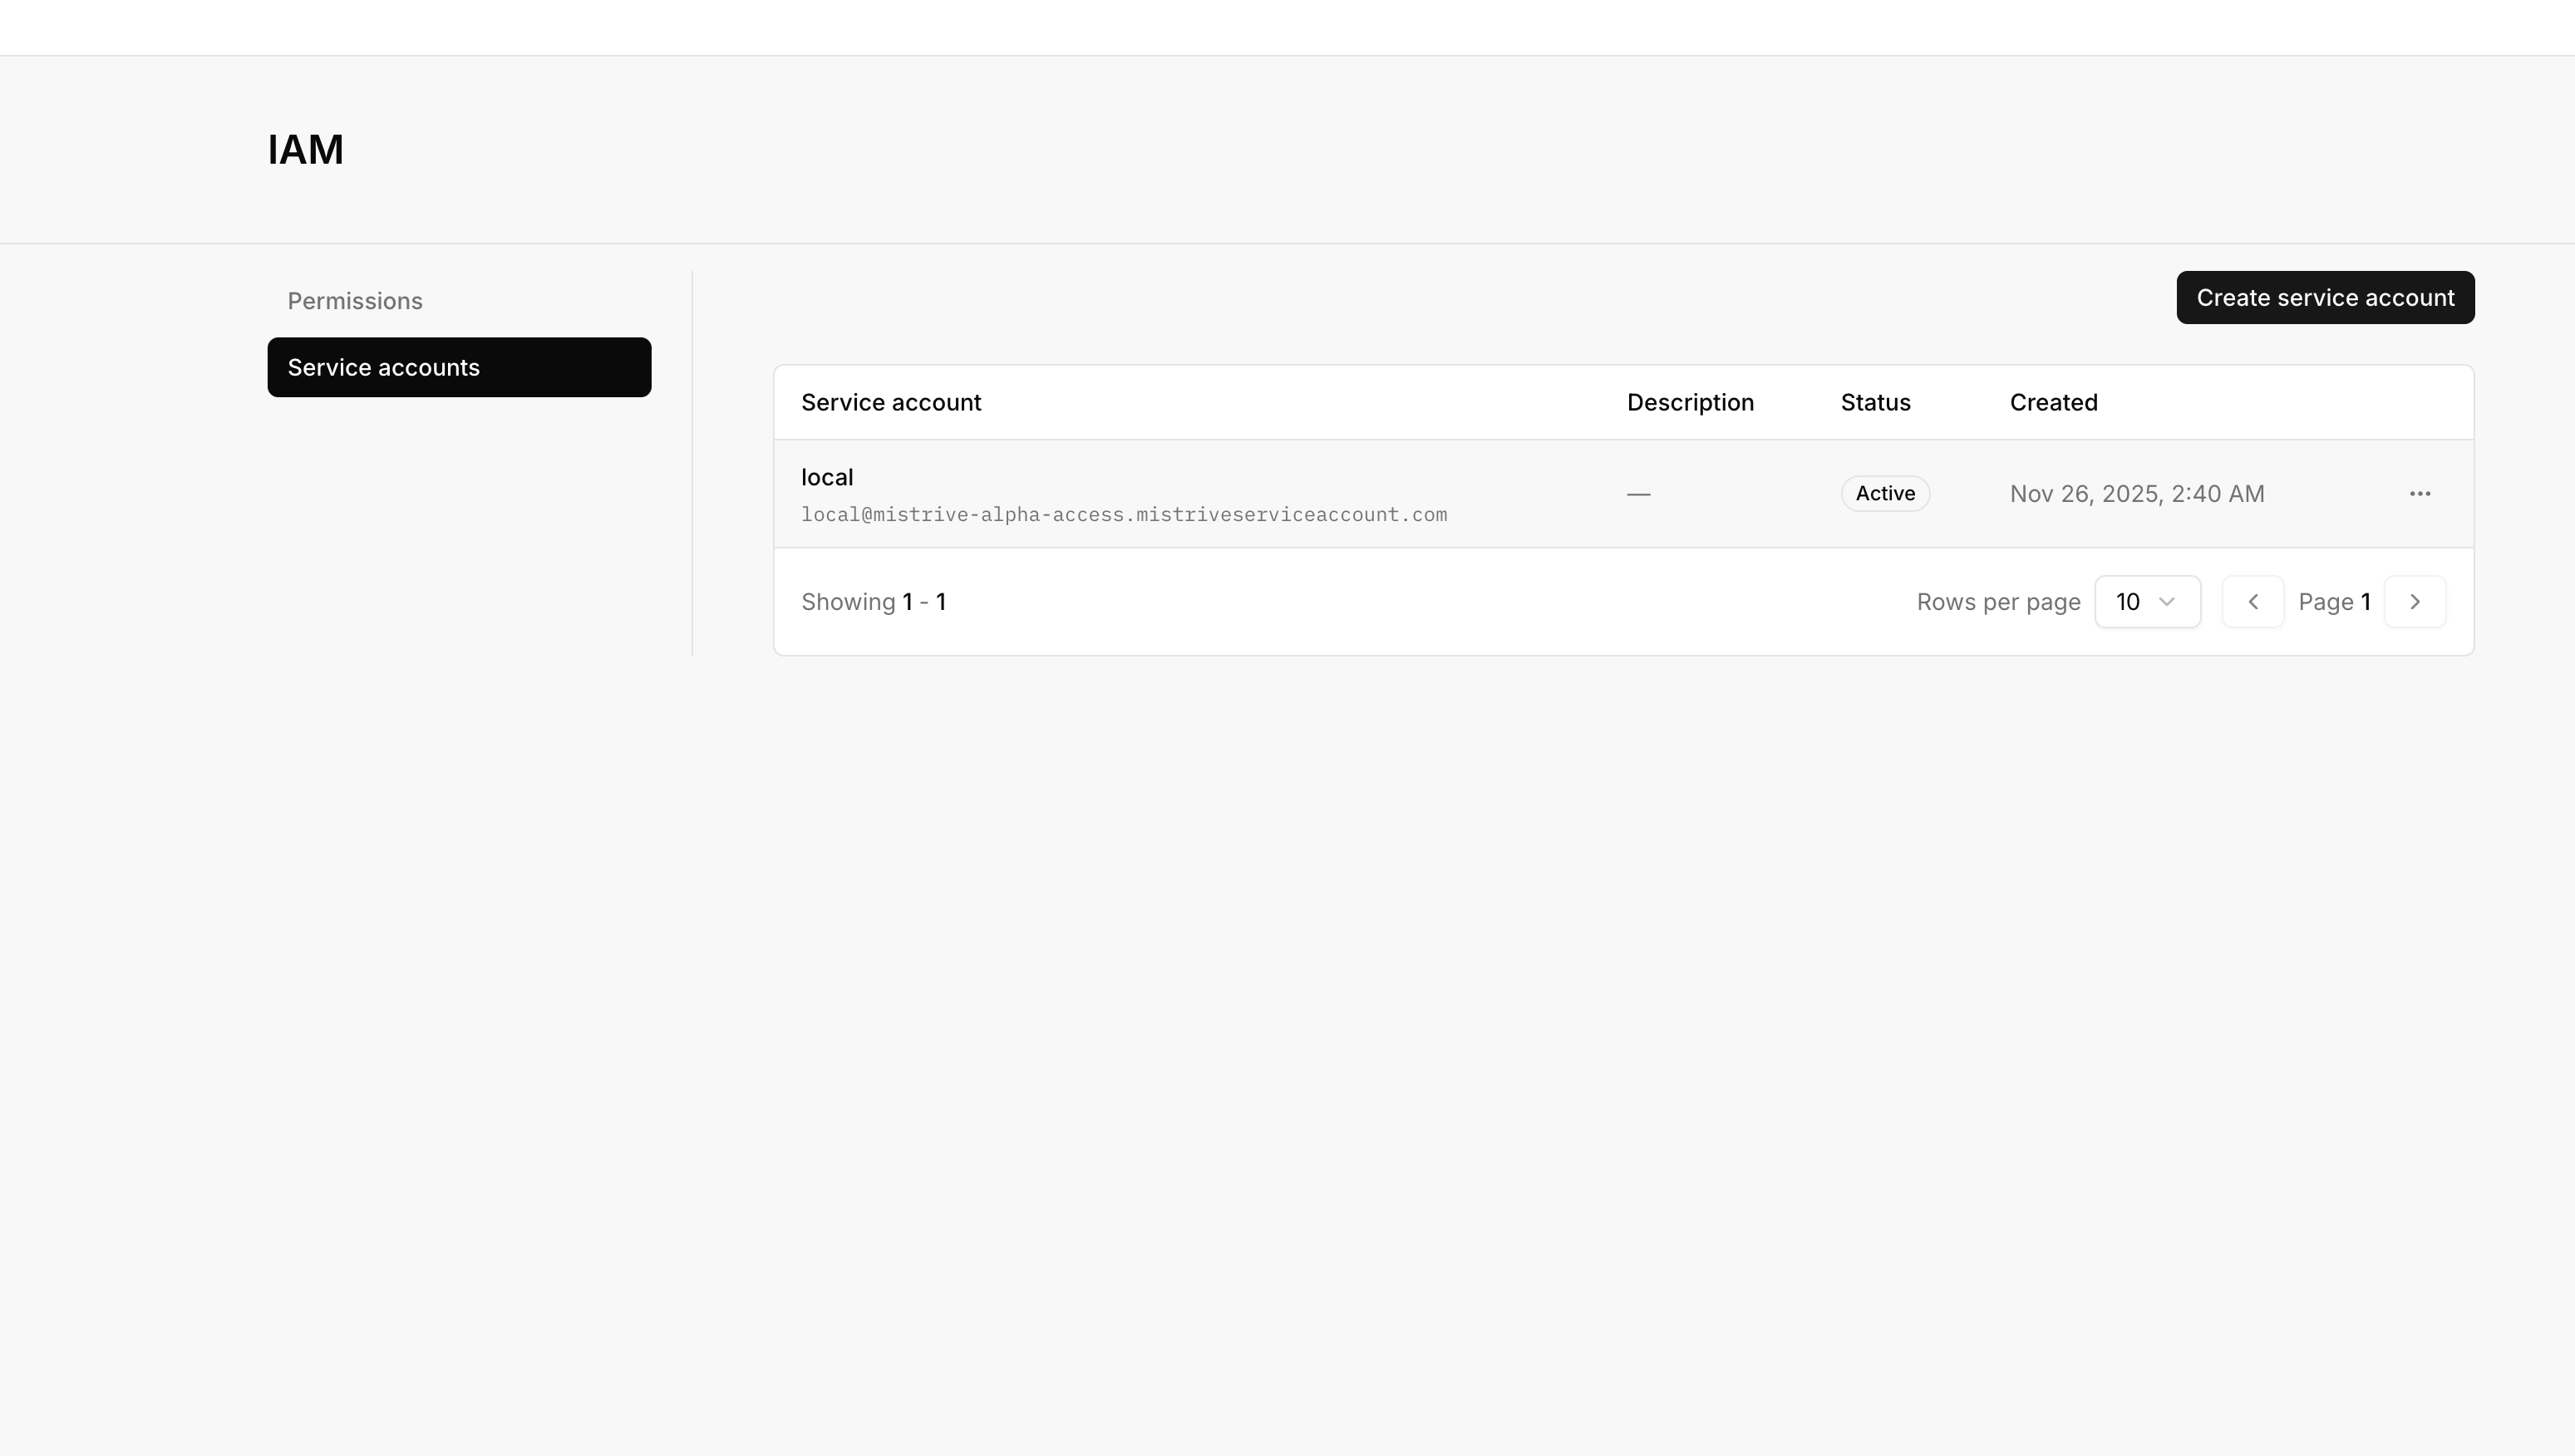
1
Select Create Service Account
Open the service account creation form.
2
Enter service account details
Provide an ID (this becomes part of the service account’s email-like identifier) and a display name. Optionally add a description.
3
Create
Submit the form. The new service account appears in the list.
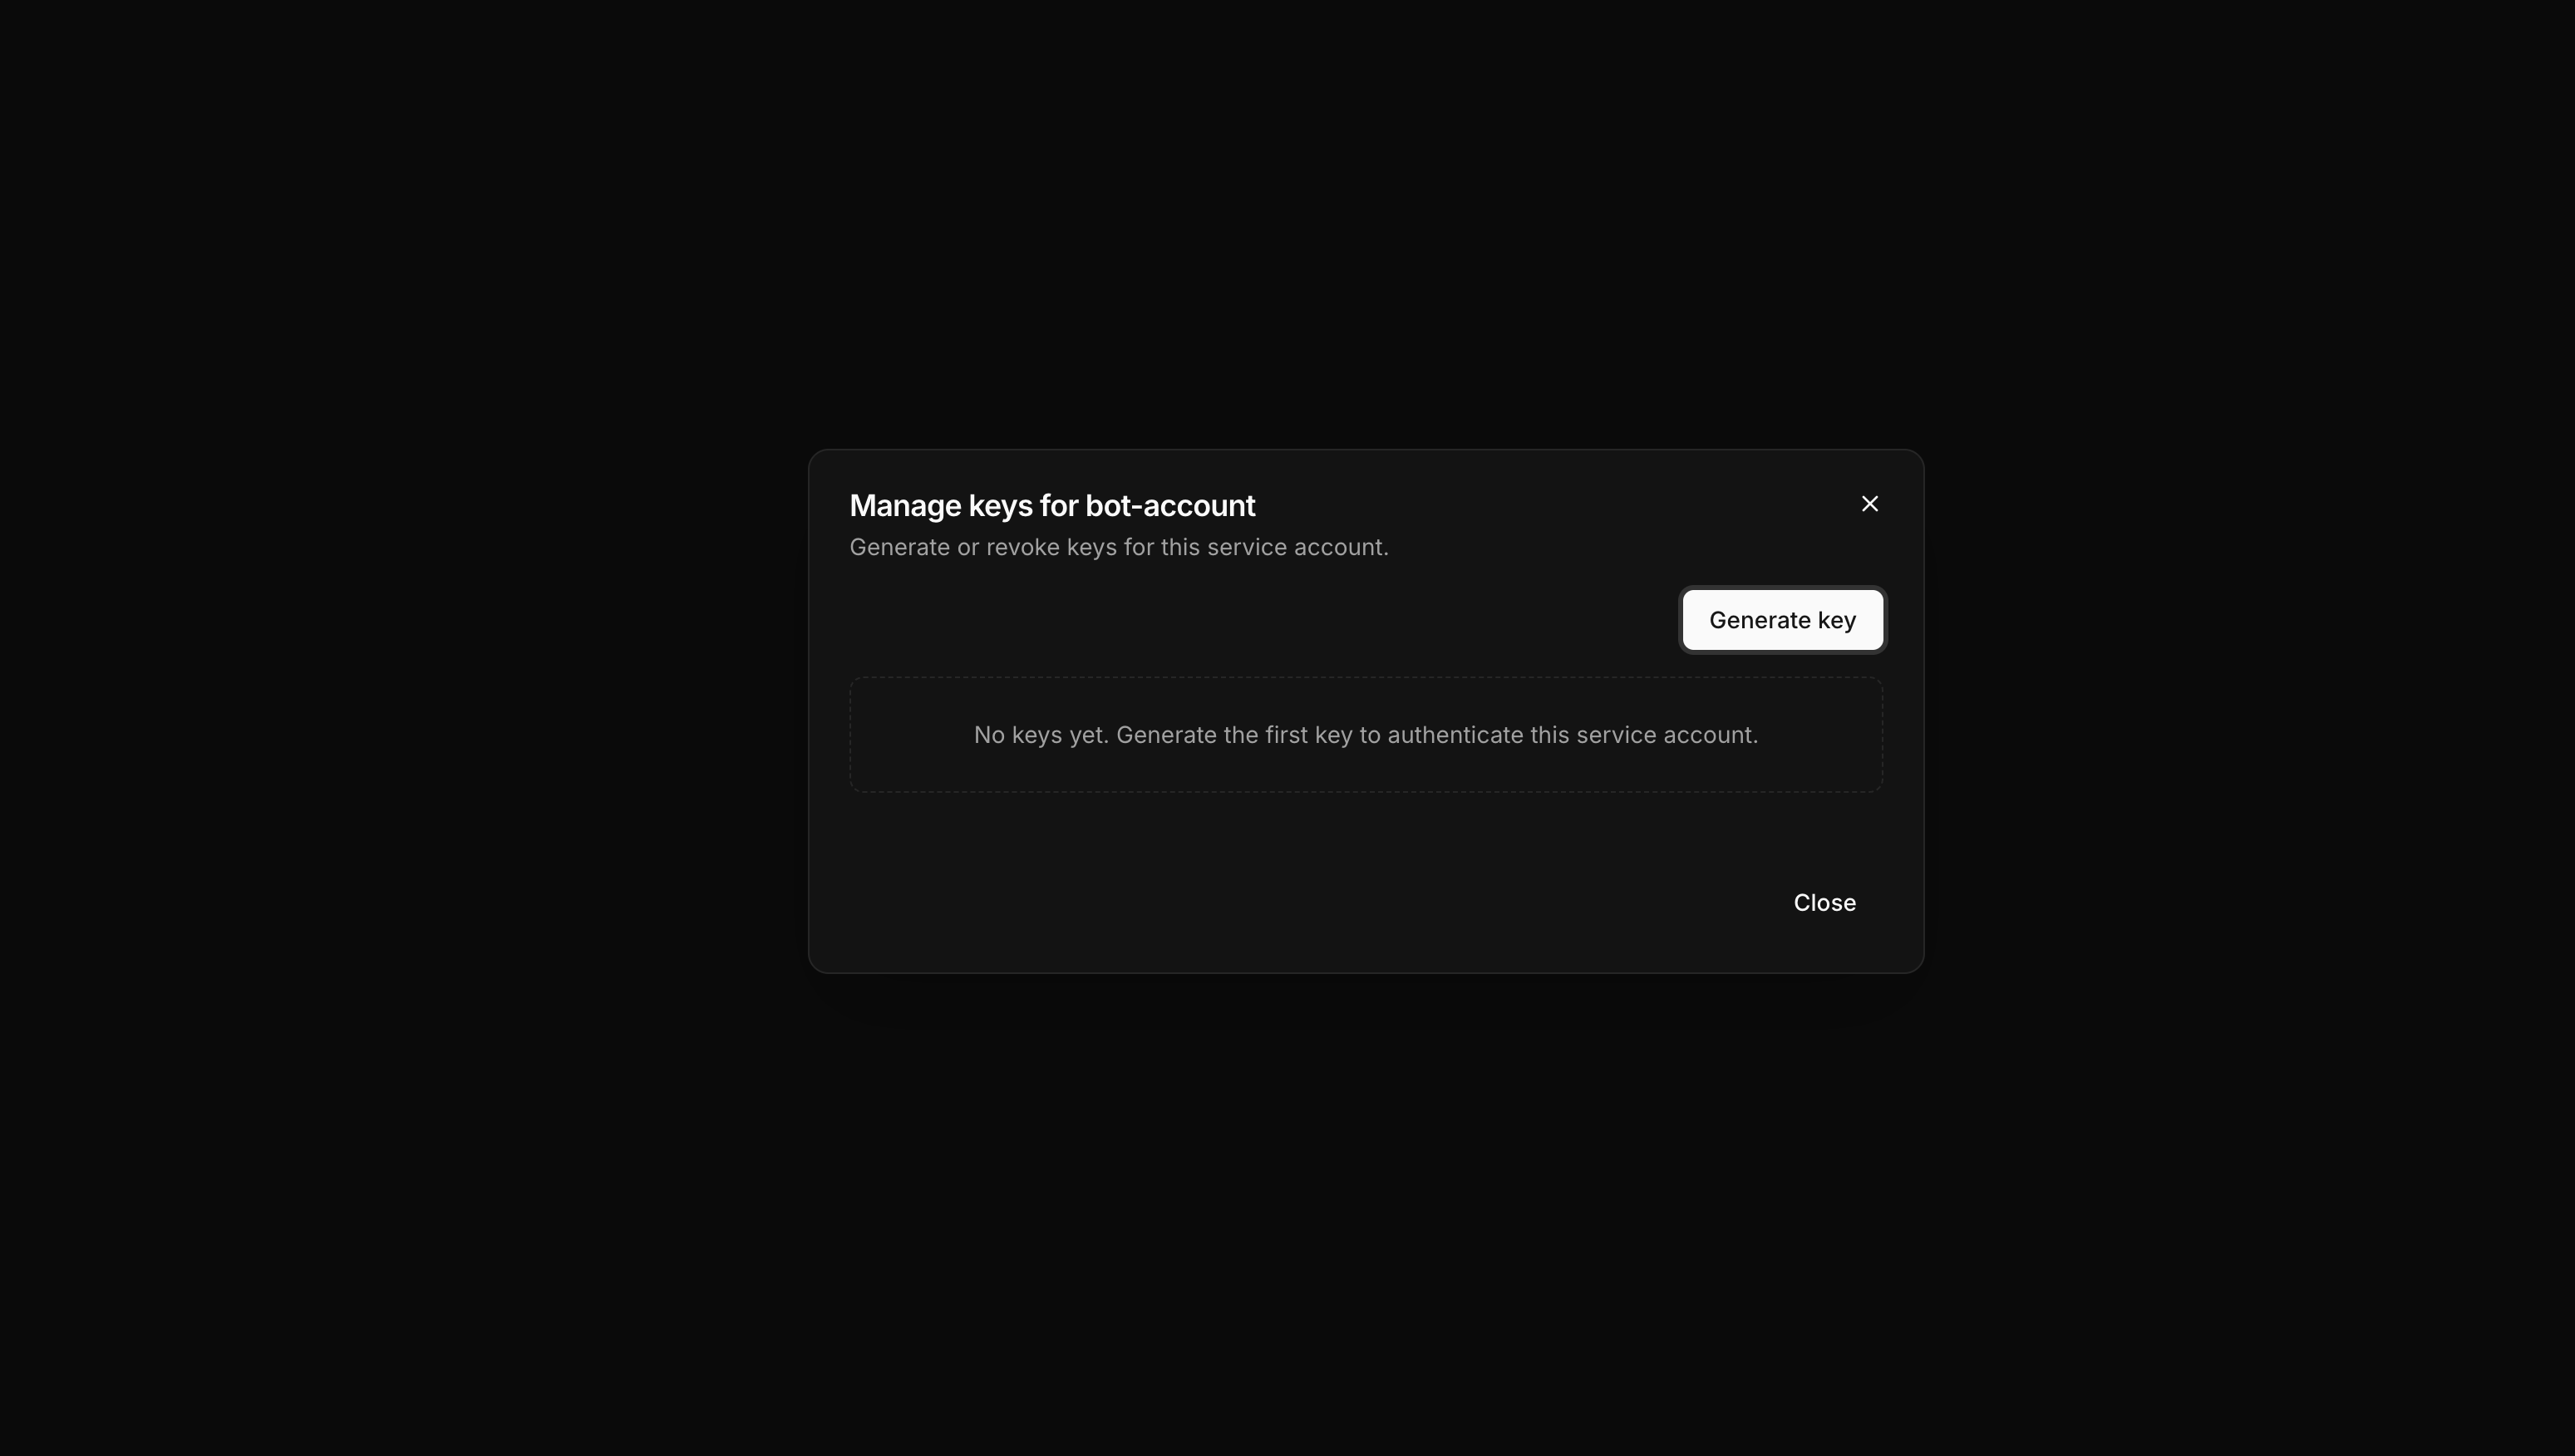
Managing keys
Service accounts authenticate using keys. Each service account can have multiple active keys, allowing you to rotate credentials without downtime.Creating a key
From the service account’s detail page, select Create Key.
1
Create the key
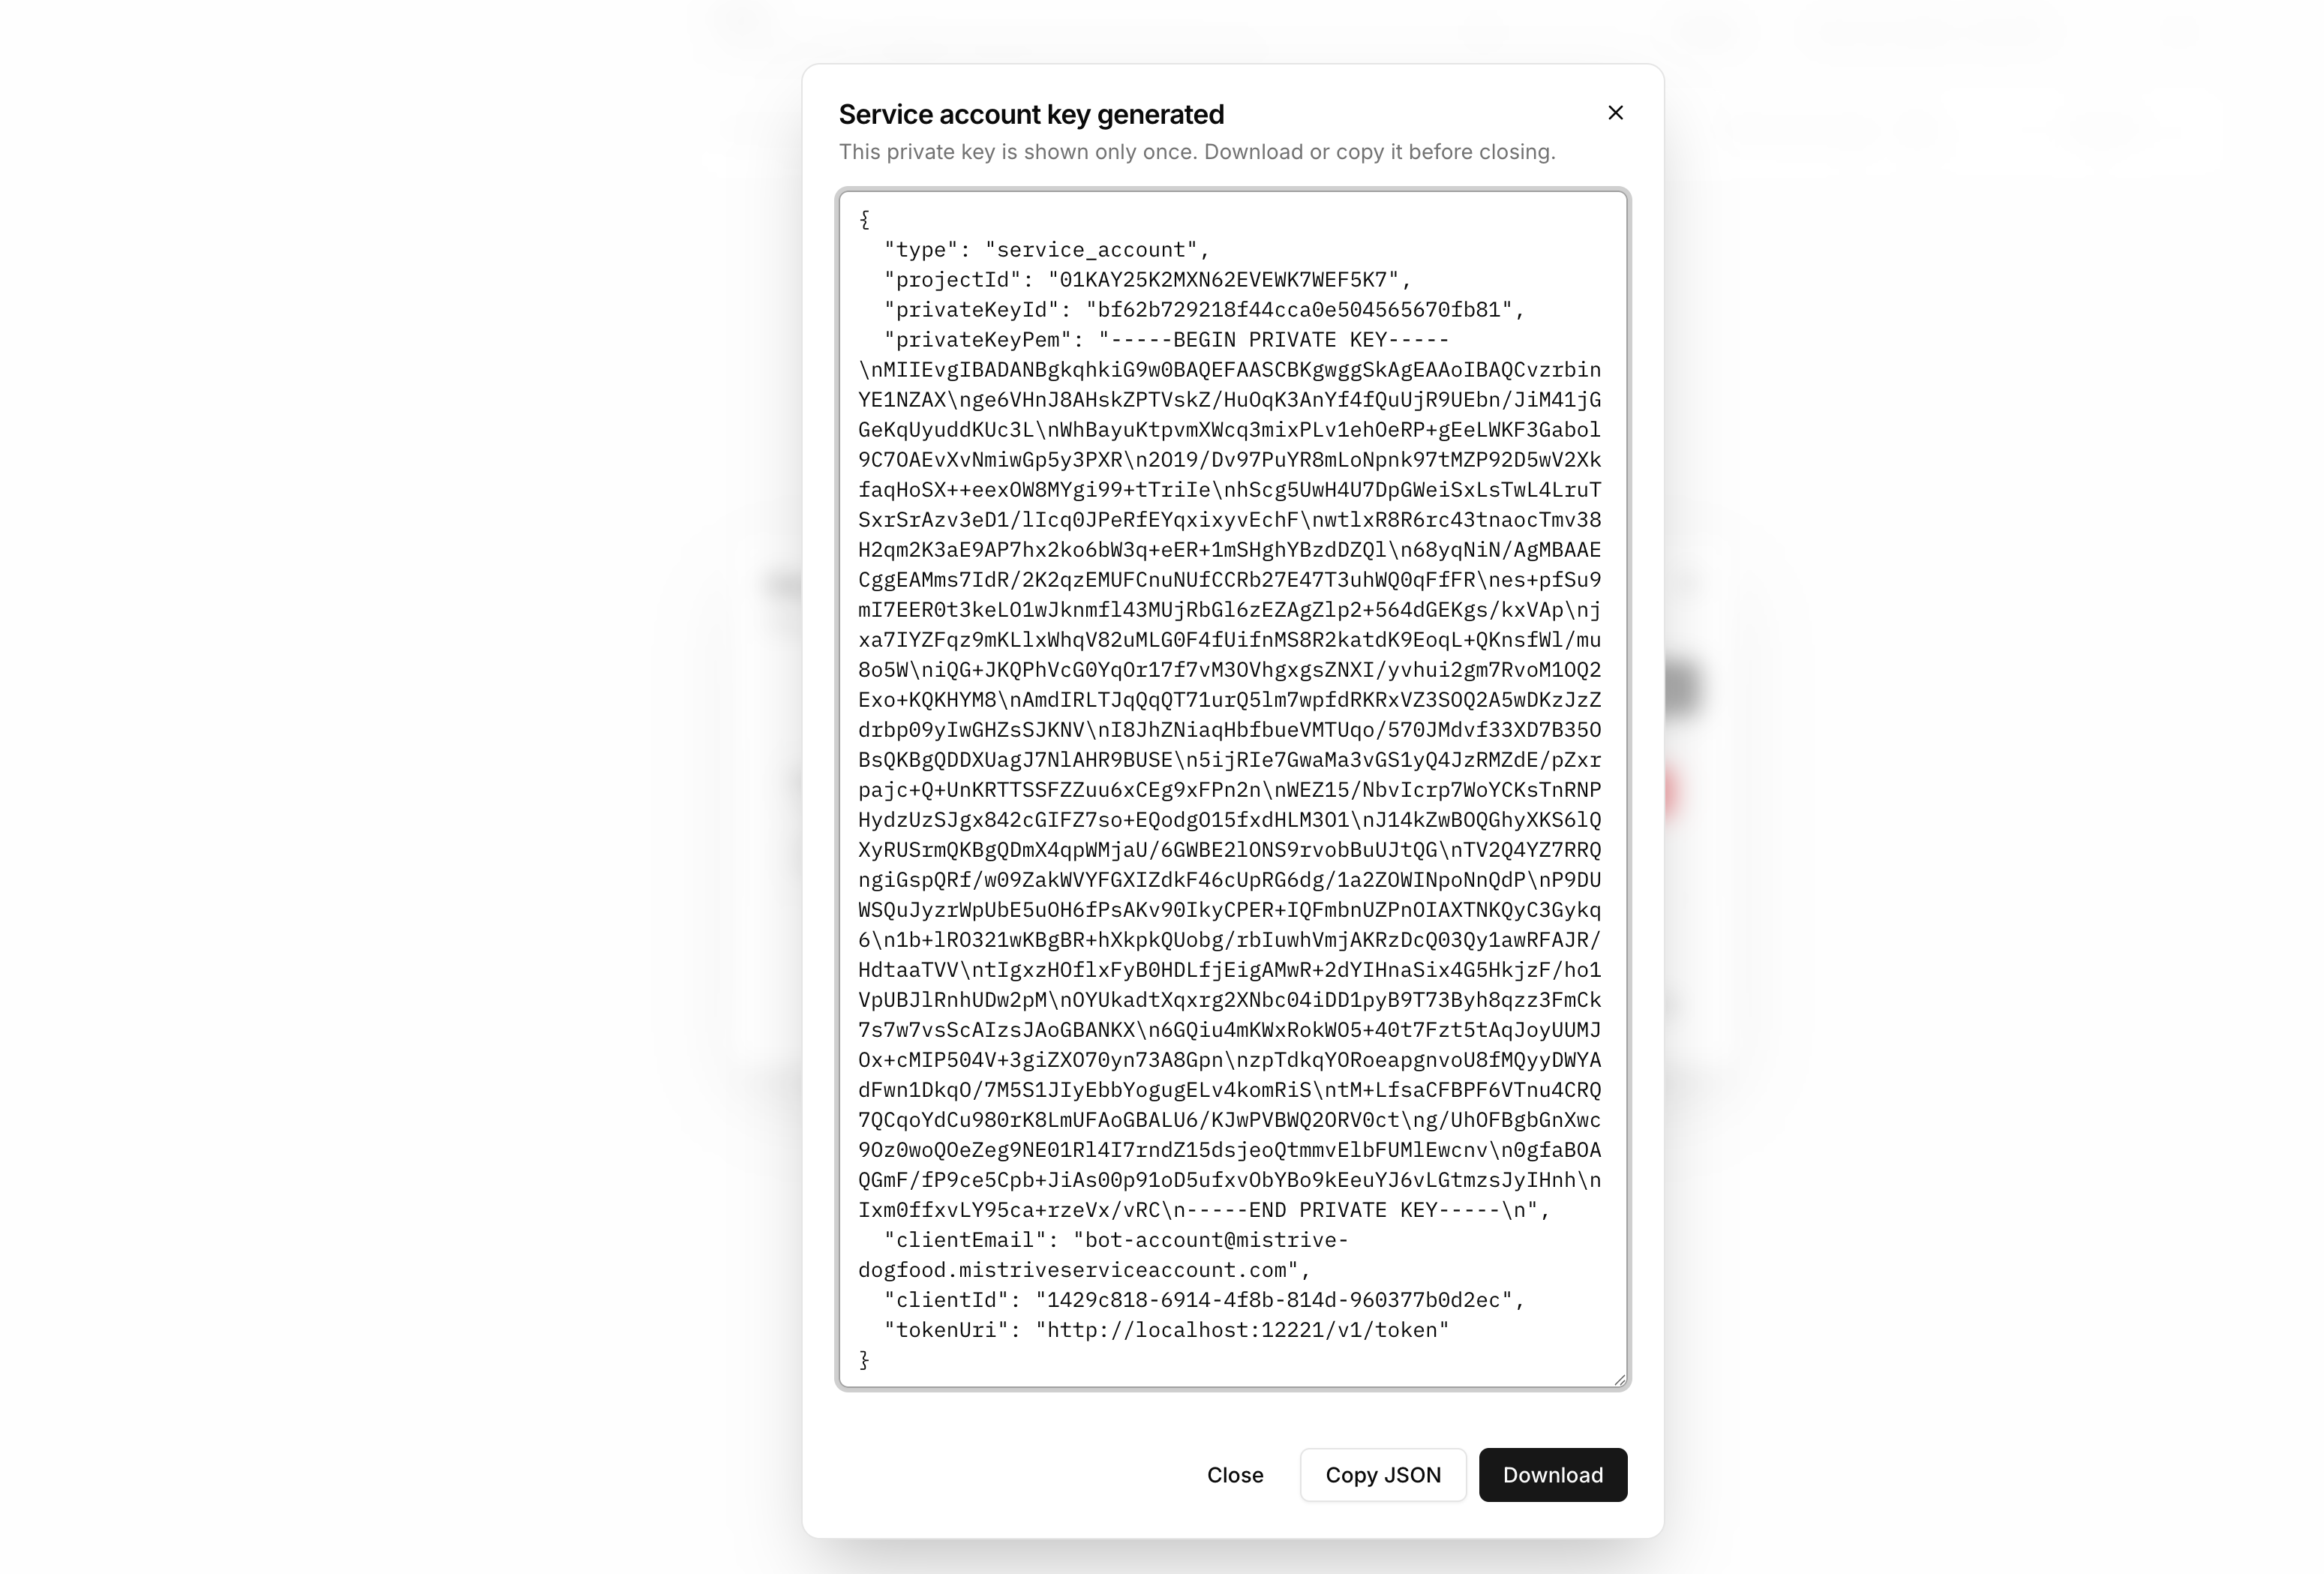
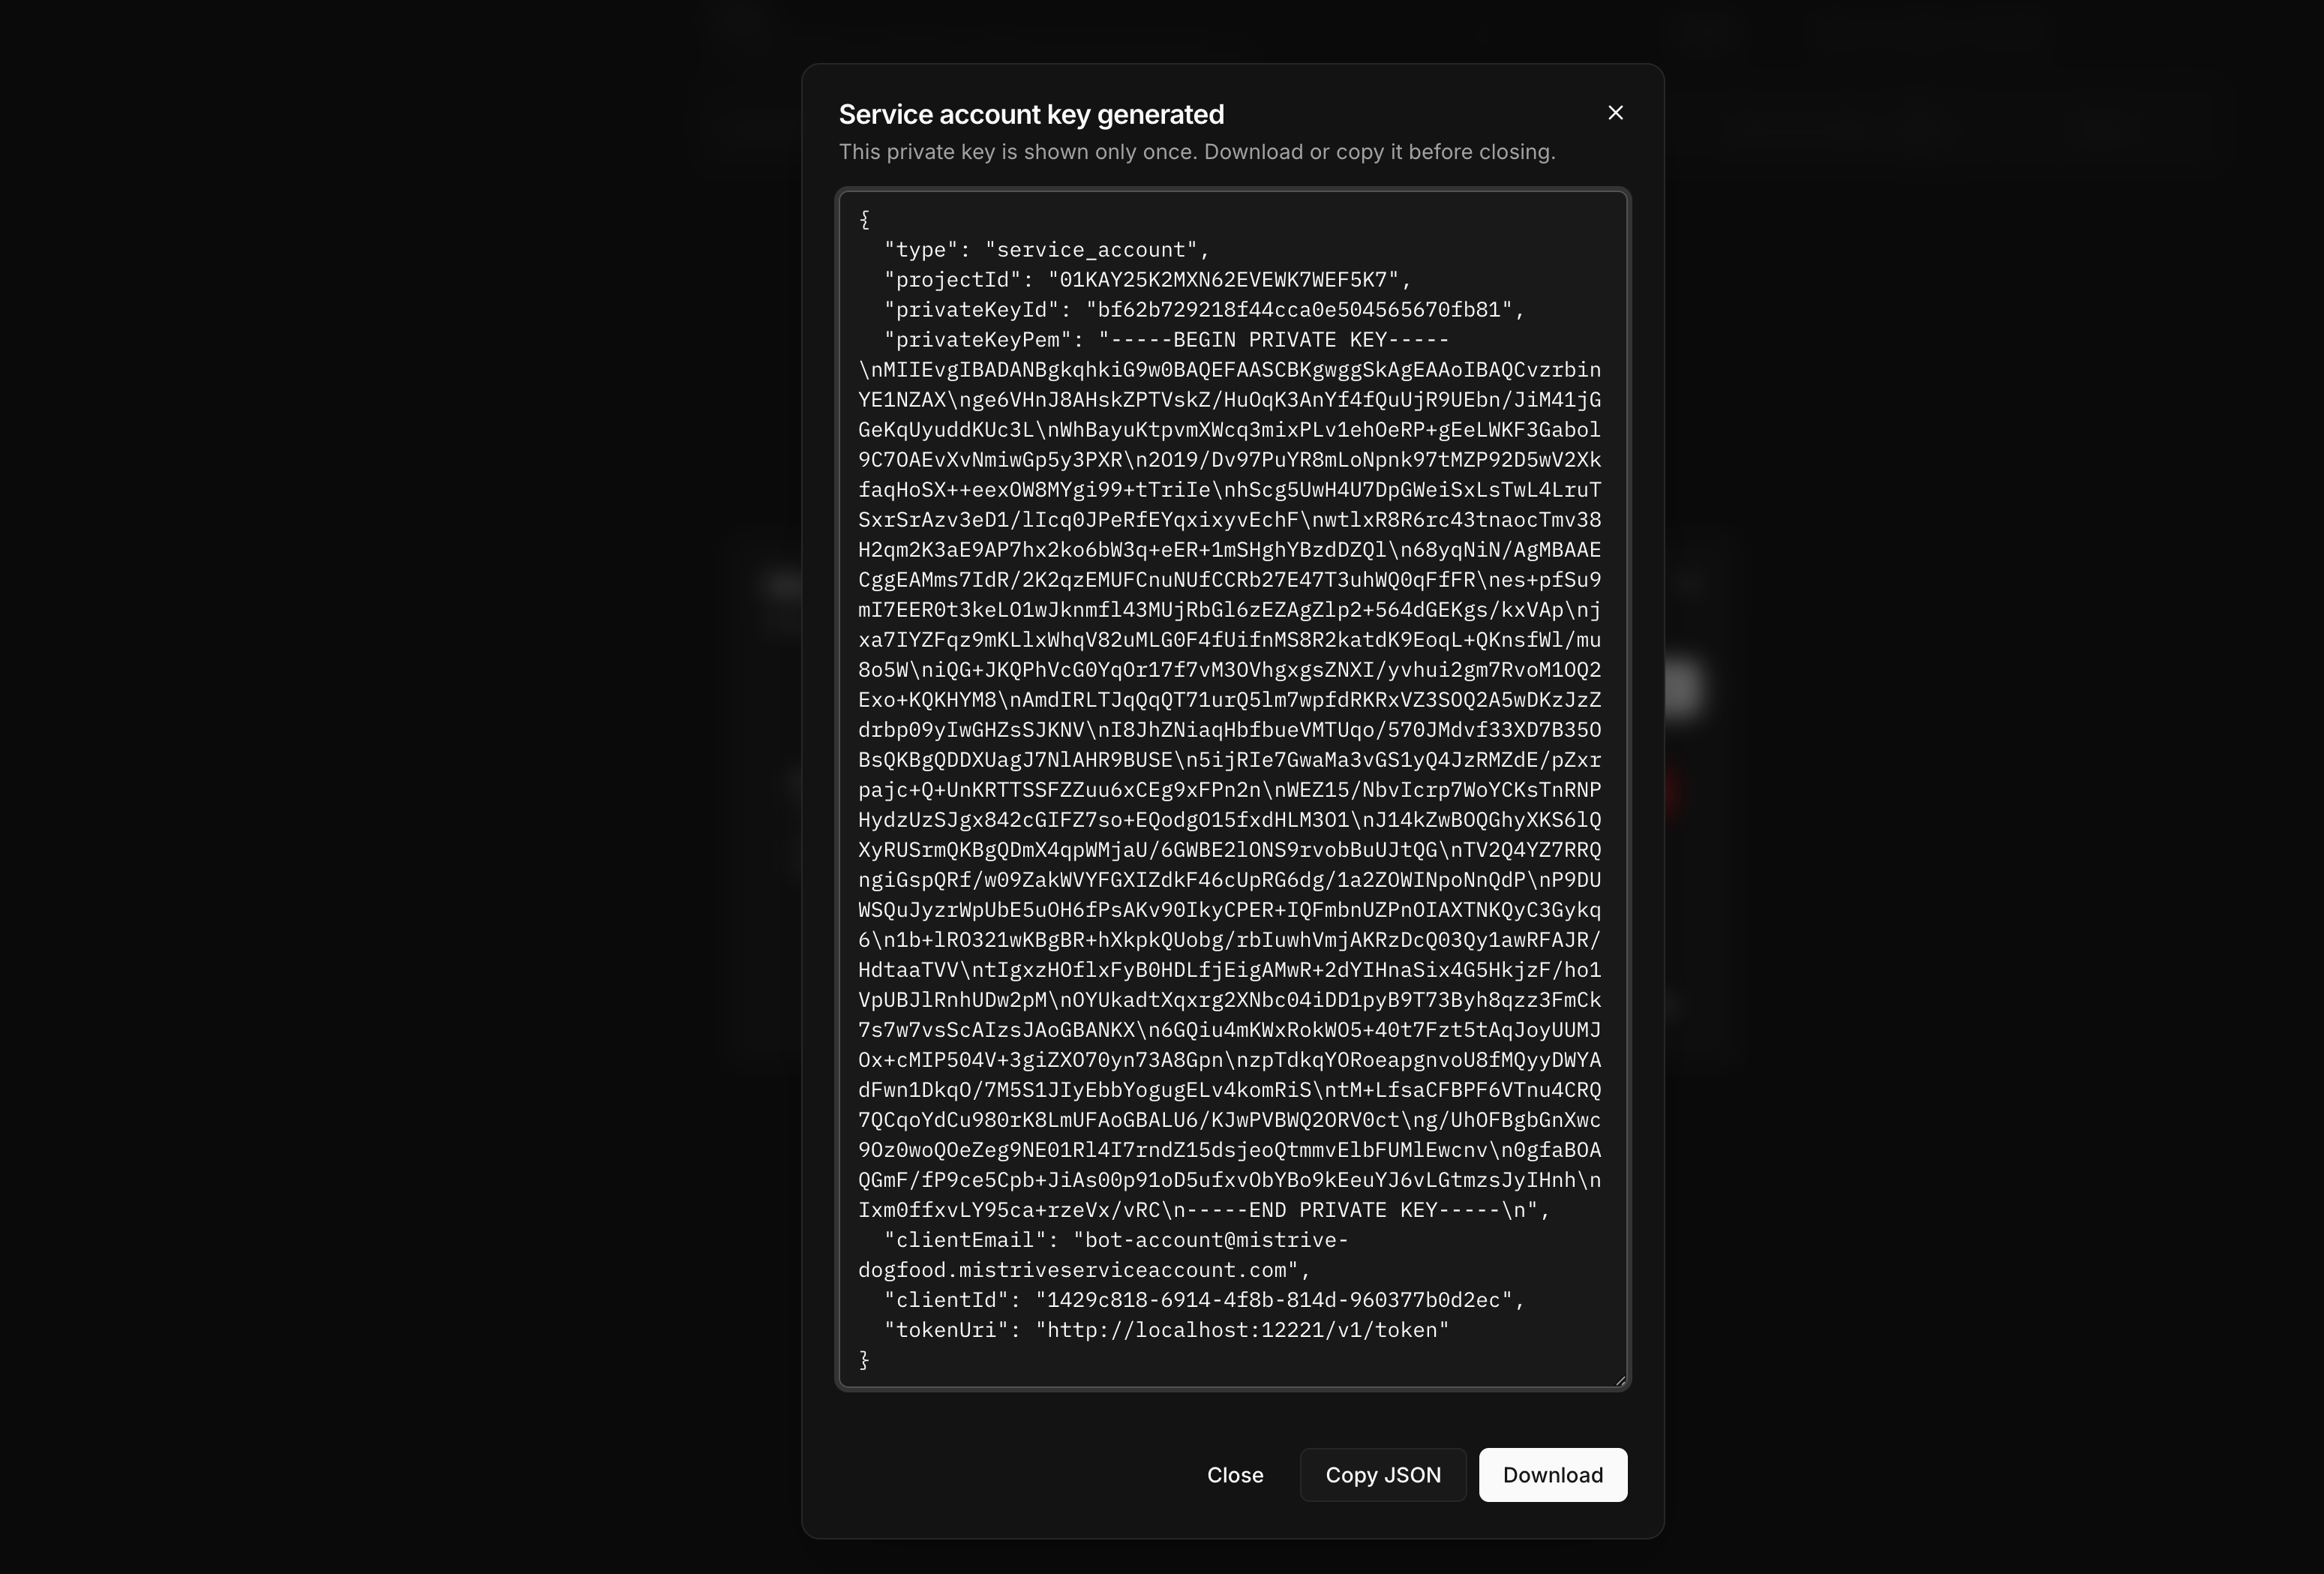
The system generates a new key pair and displays the credentials.
2
Download the JSON
Download the key file immediately. This is the only time the private key is available.
Deleting a key
To revoke a key, navigate to the service account and delete the specific key from the keys list. Any systems using that key will immediately lose access.Granting access
A newly created service account has no permissions. Grant access by adding it to project IAM or repository permissions.Project-level access
Add the service account to the project’s IAM with appropriate roles. Navigate to IAM in your project, then add the service account identifier as a principal. Common configurations:Repository-level access
For fine-grained control, grant access to specific repositories instead of the entire project. See Managing repository permissions for details.What’s next
With your service account configured:- Set up Docker authentication to use the service account key
- Configure repository access for specific registries