> ## Documentation Index
> Fetch the complete documentation index at: https://docs.mistrive.com/llms.txt
> Use this file to discover all available pages before exploring further.
# User management
> Create, manage, and administer user accounts
User management is performed by global administrators through the Global Settings section of the management console. From here, you can create accounts, reset passwords, grant administrator privileges, and manage user lifecycle.
All operations on this page require **Global Administrator** privileges.
## Accessing user management
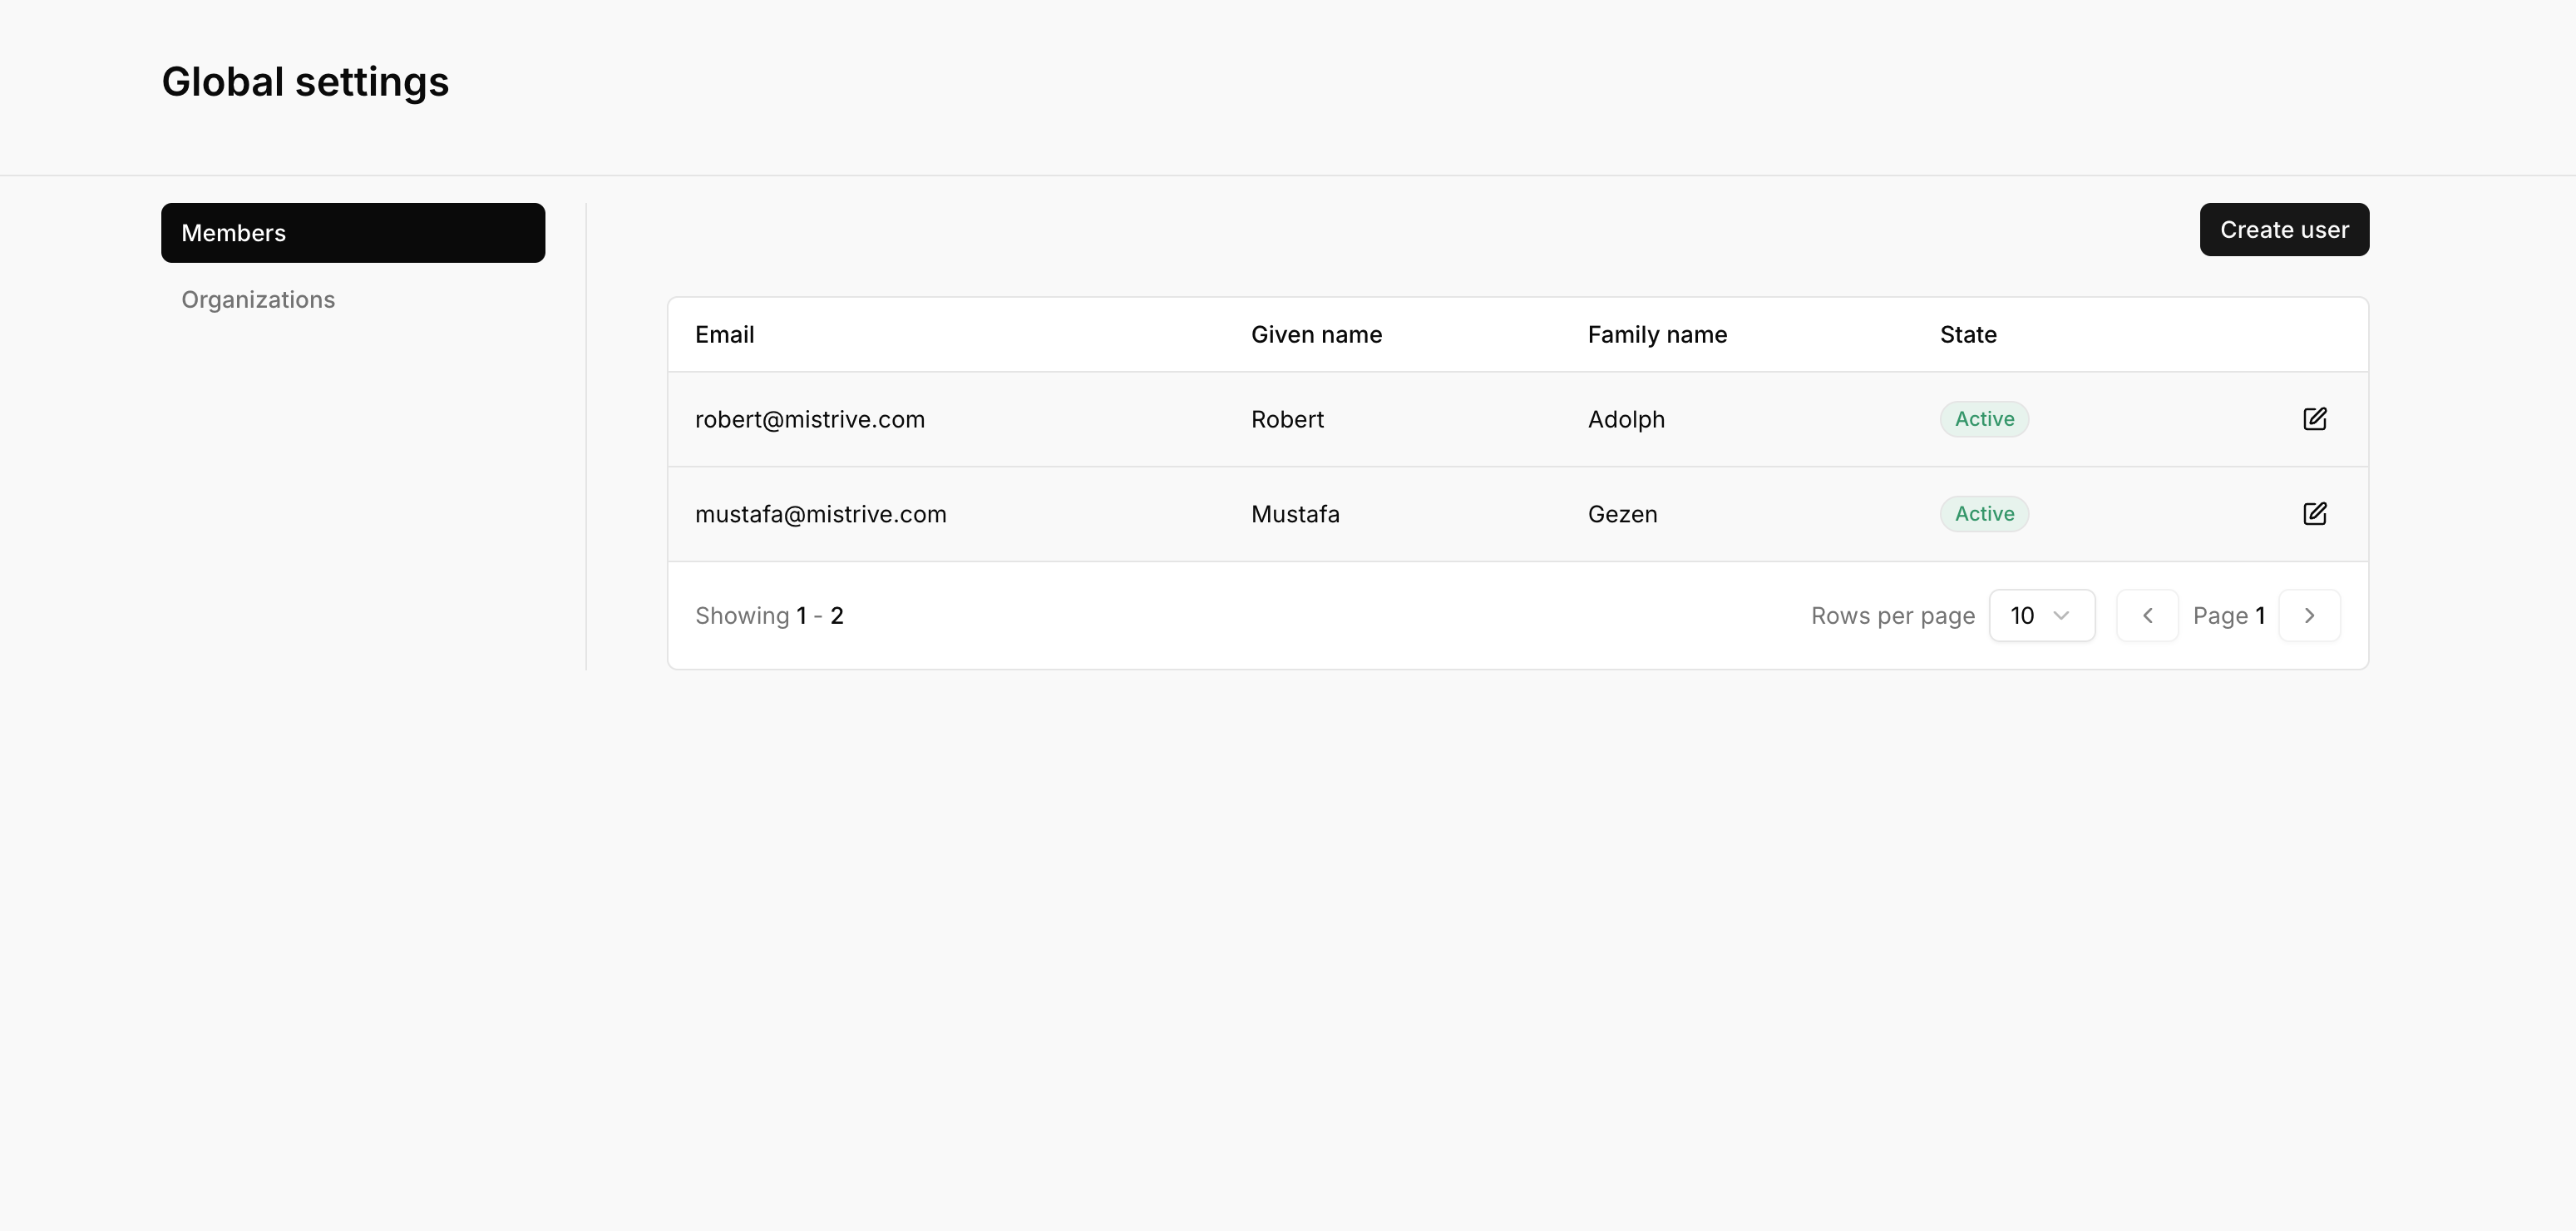
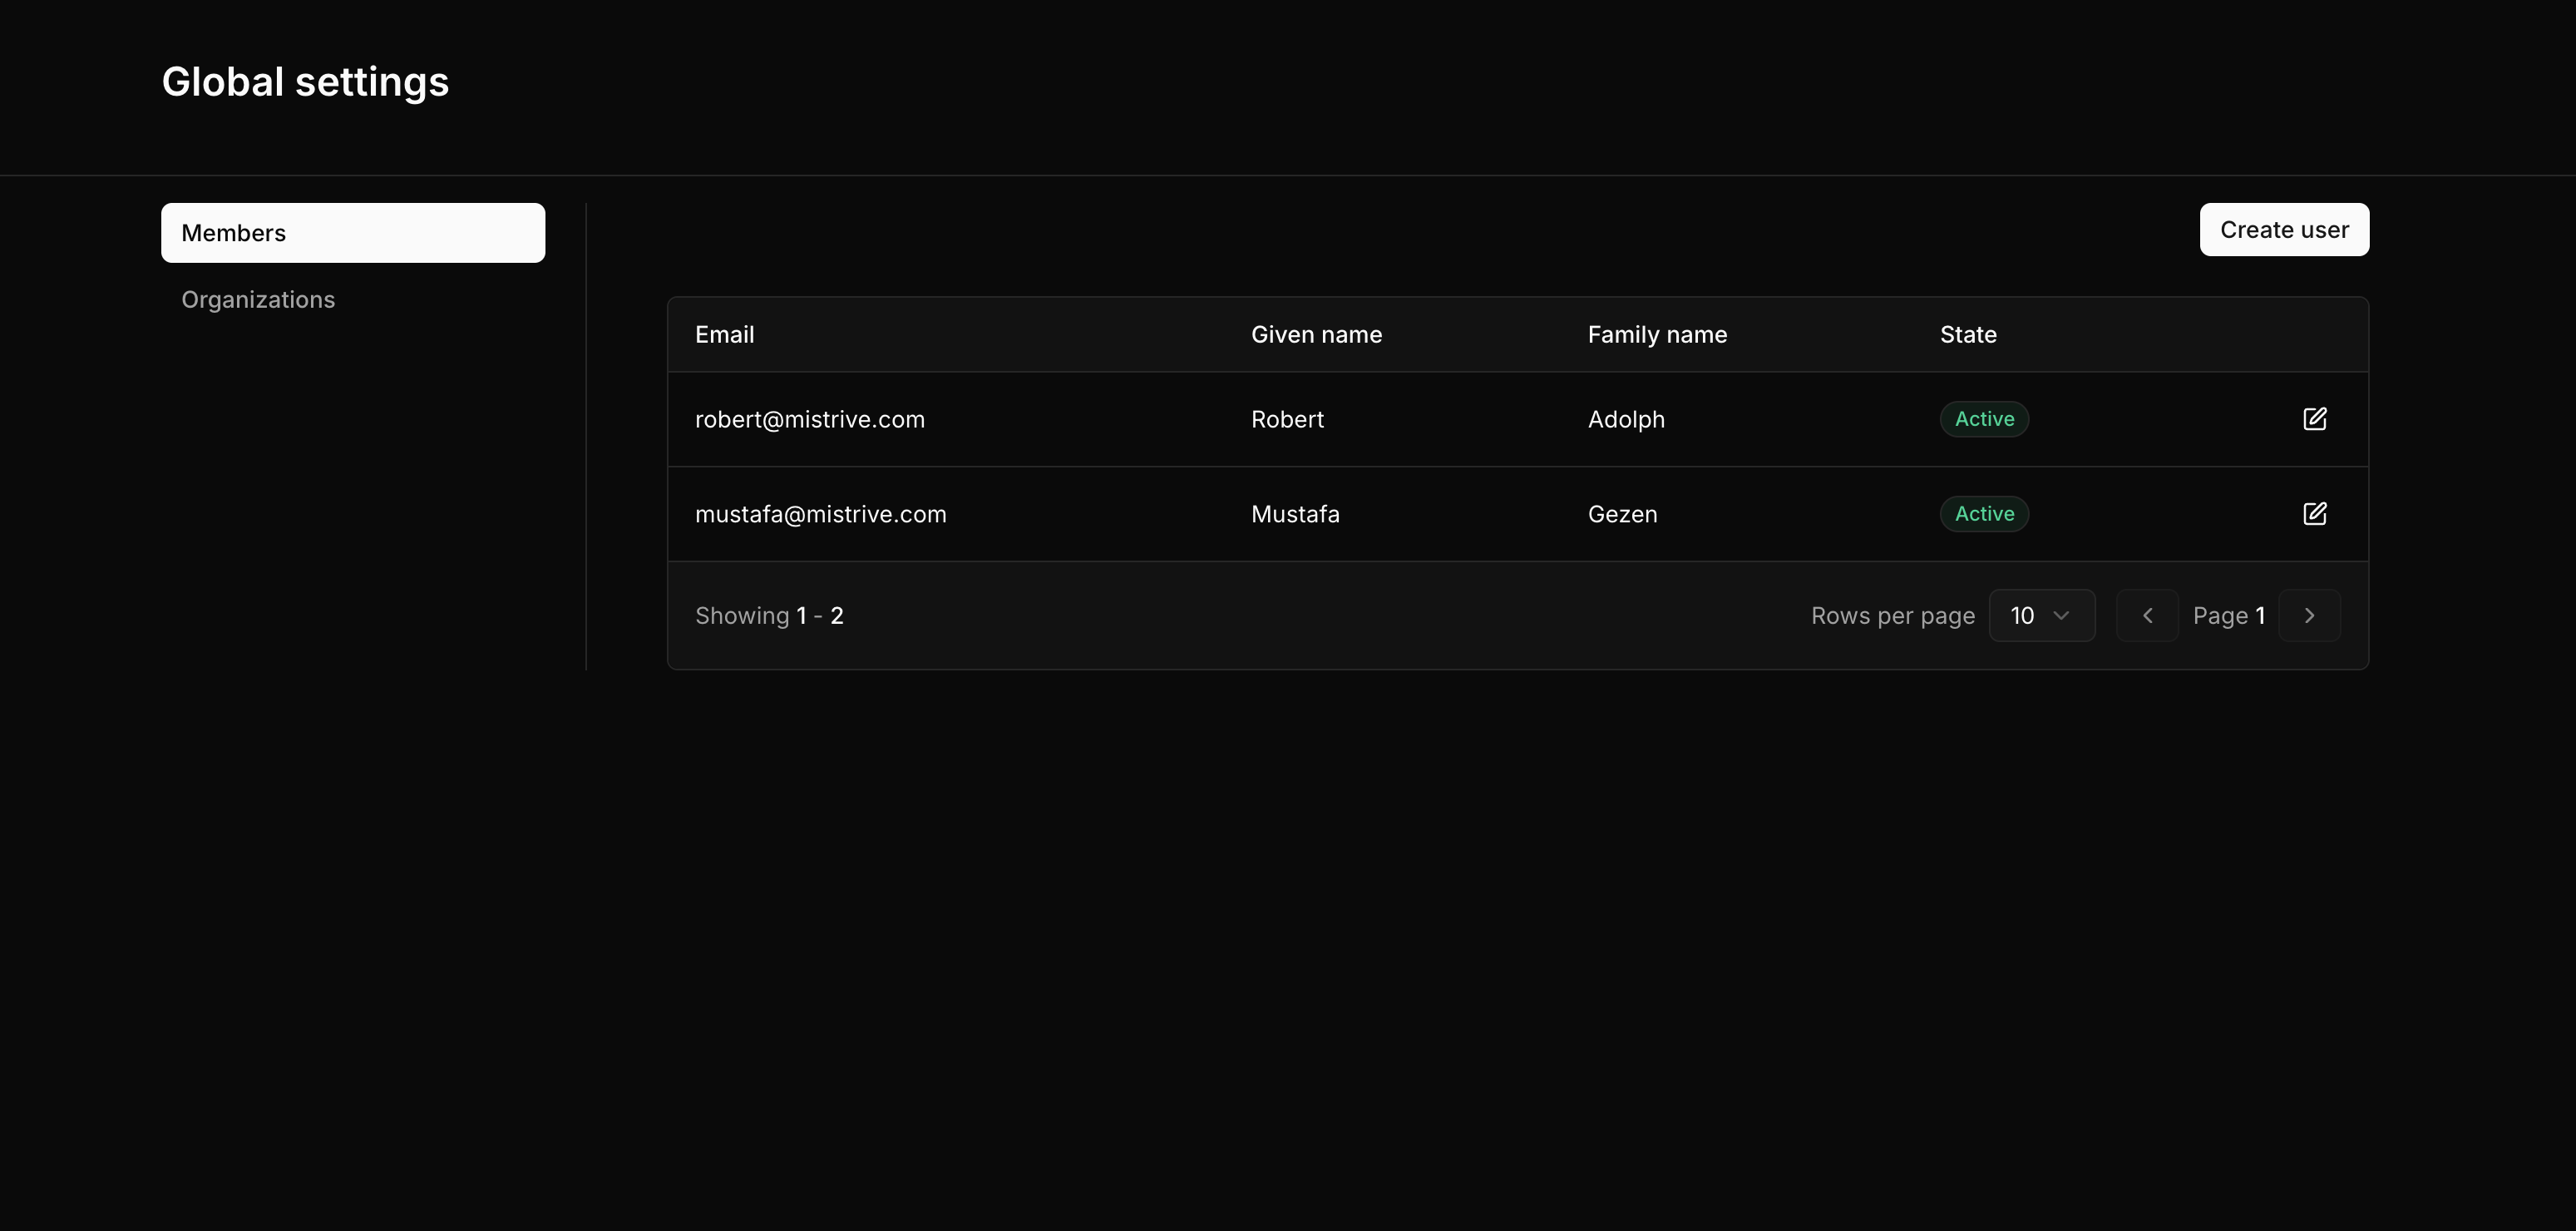
Navigate to **Global Settings** from the user menu in the top-right corner. The Members page displays all users in the system with their current state.
 ## Creating user accounts
Click **Create user** in the top-right corner of the Members page.
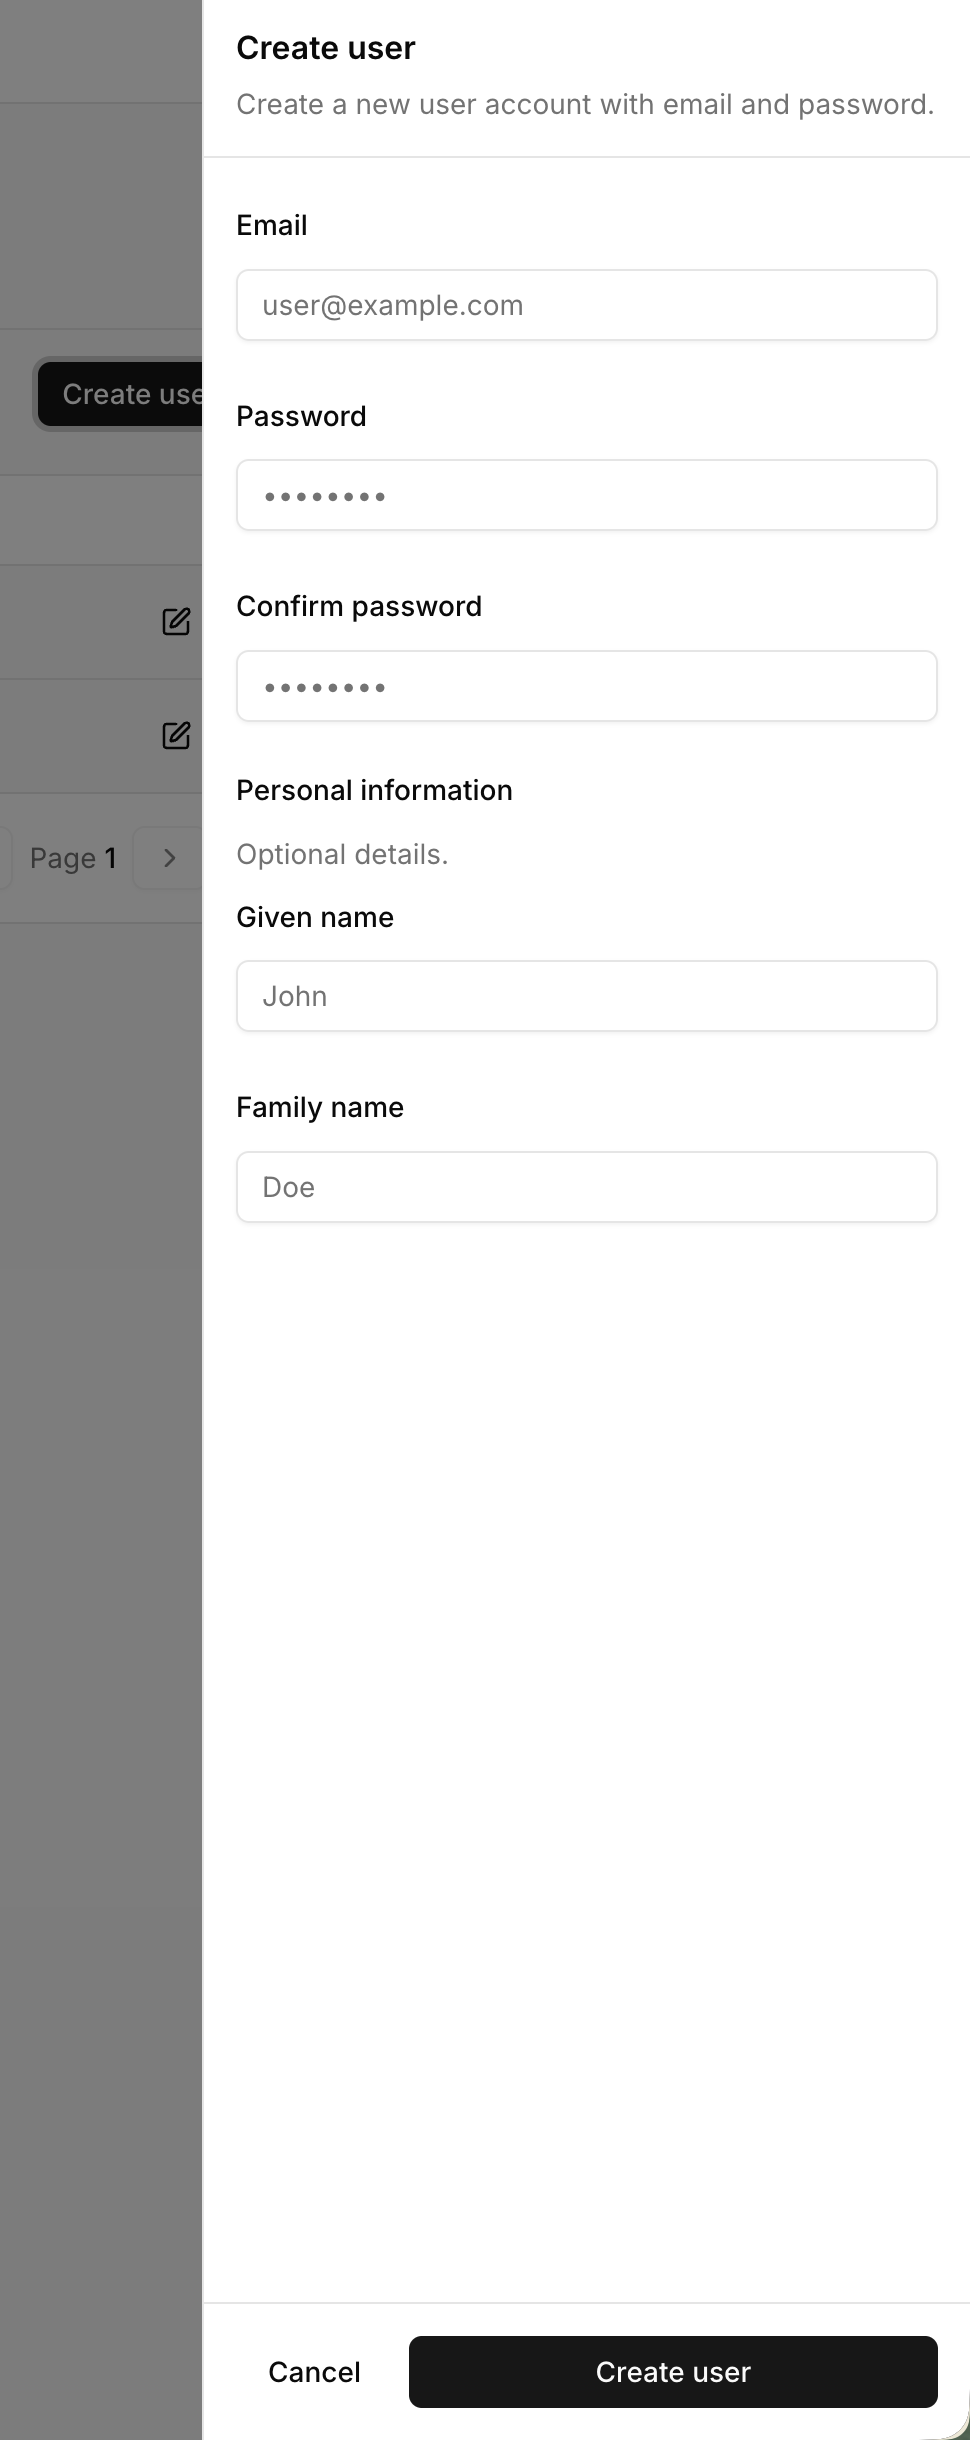
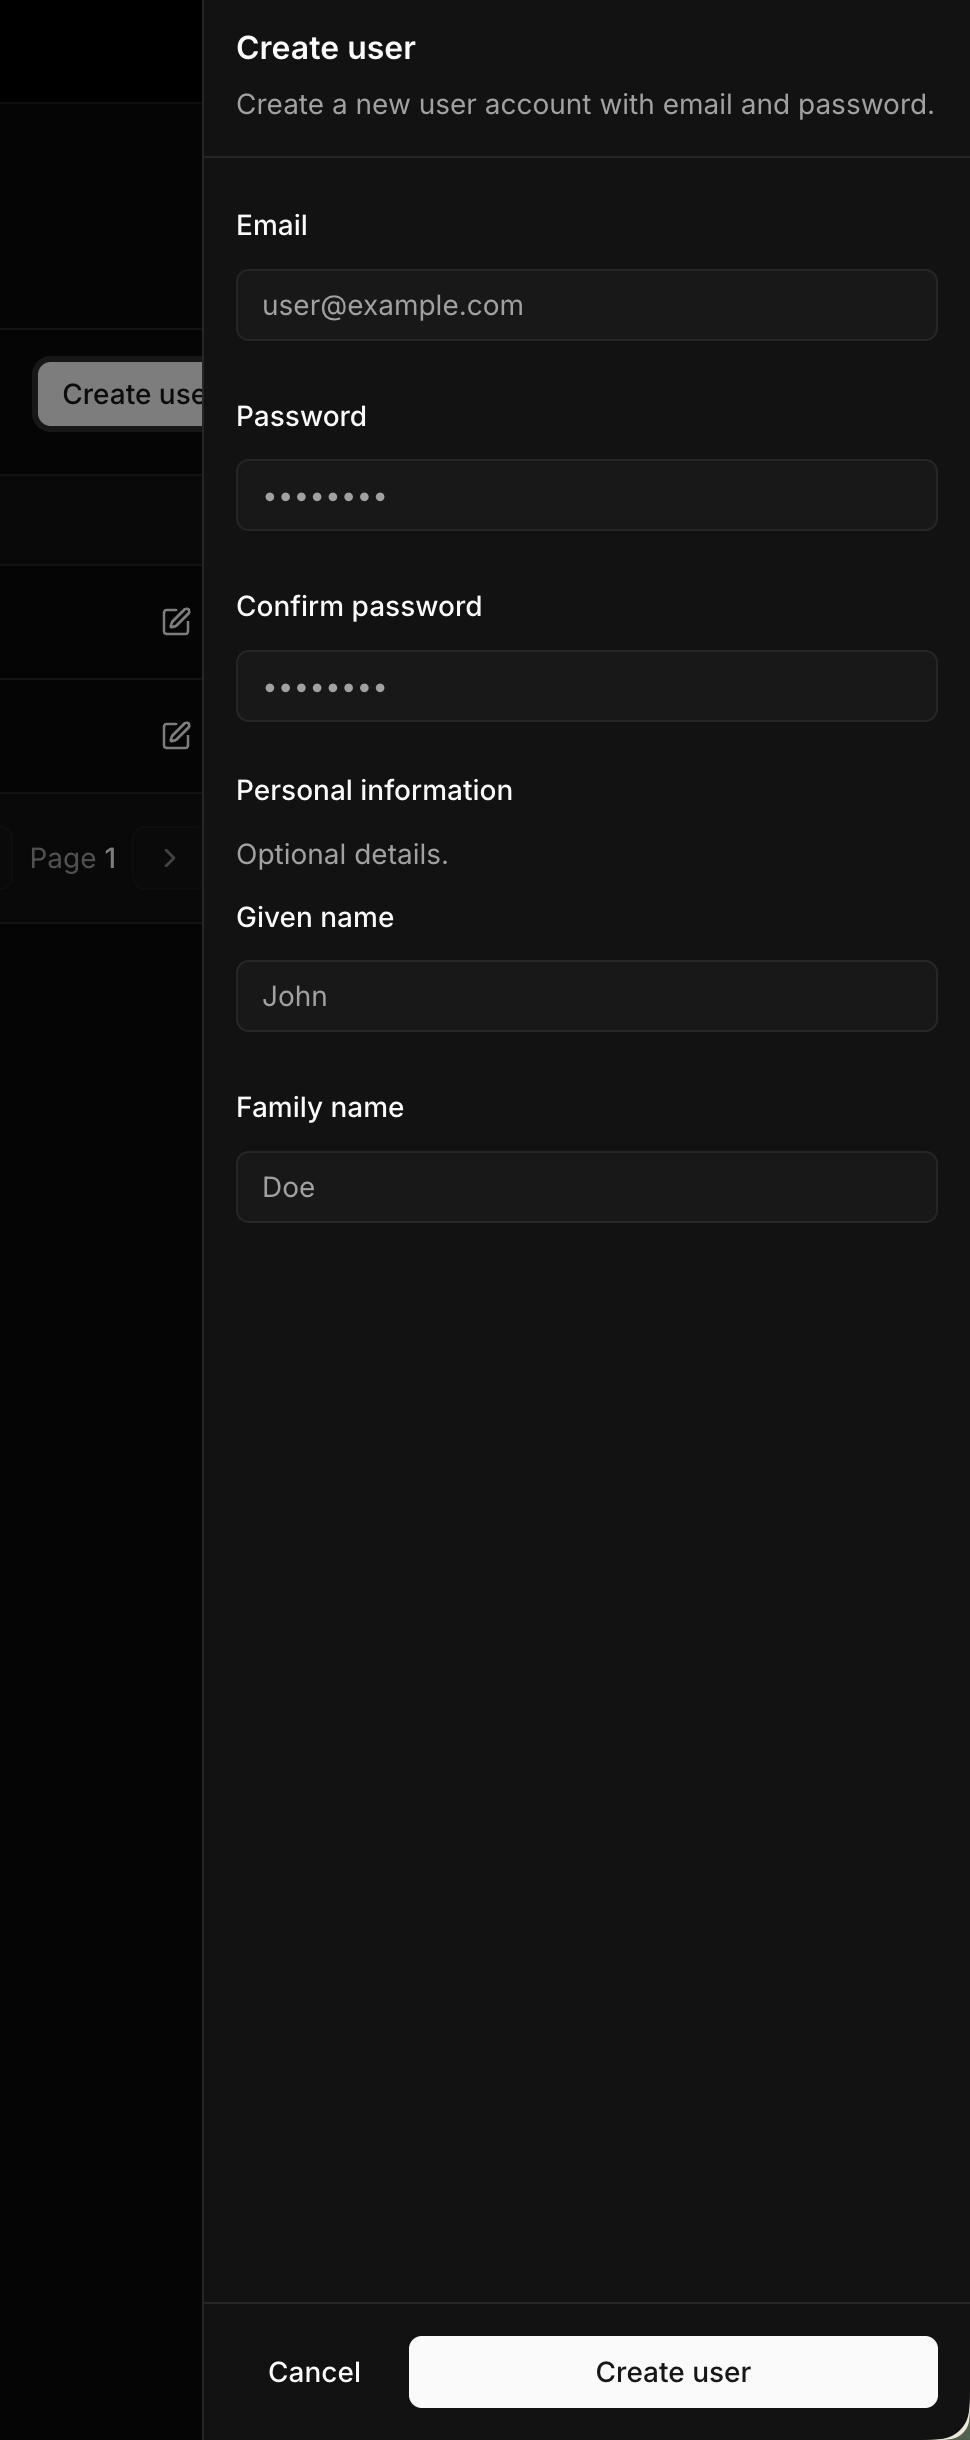
Provide the user's email address and set an initial password. Passwords must be at least 8 characters.
Optionally enter the user's given name and family name for display purposes.
Click **Create user** to create the account. The user can now sign in with the provided credentials.
## Creating user accounts
Click **Create user** in the top-right corner of the Members page.
Provide the user's email address and set an initial password. Passwords must be at least 8 characters.
Optionally enter the user's given name and family name for display purposes.
Click **Create user** to create the account. The user can now sign in with the provided credentials.
 Share the initial password with the user through a secure channel. Users can change their own password after signing in through Account Settings.
## Managing an existing user
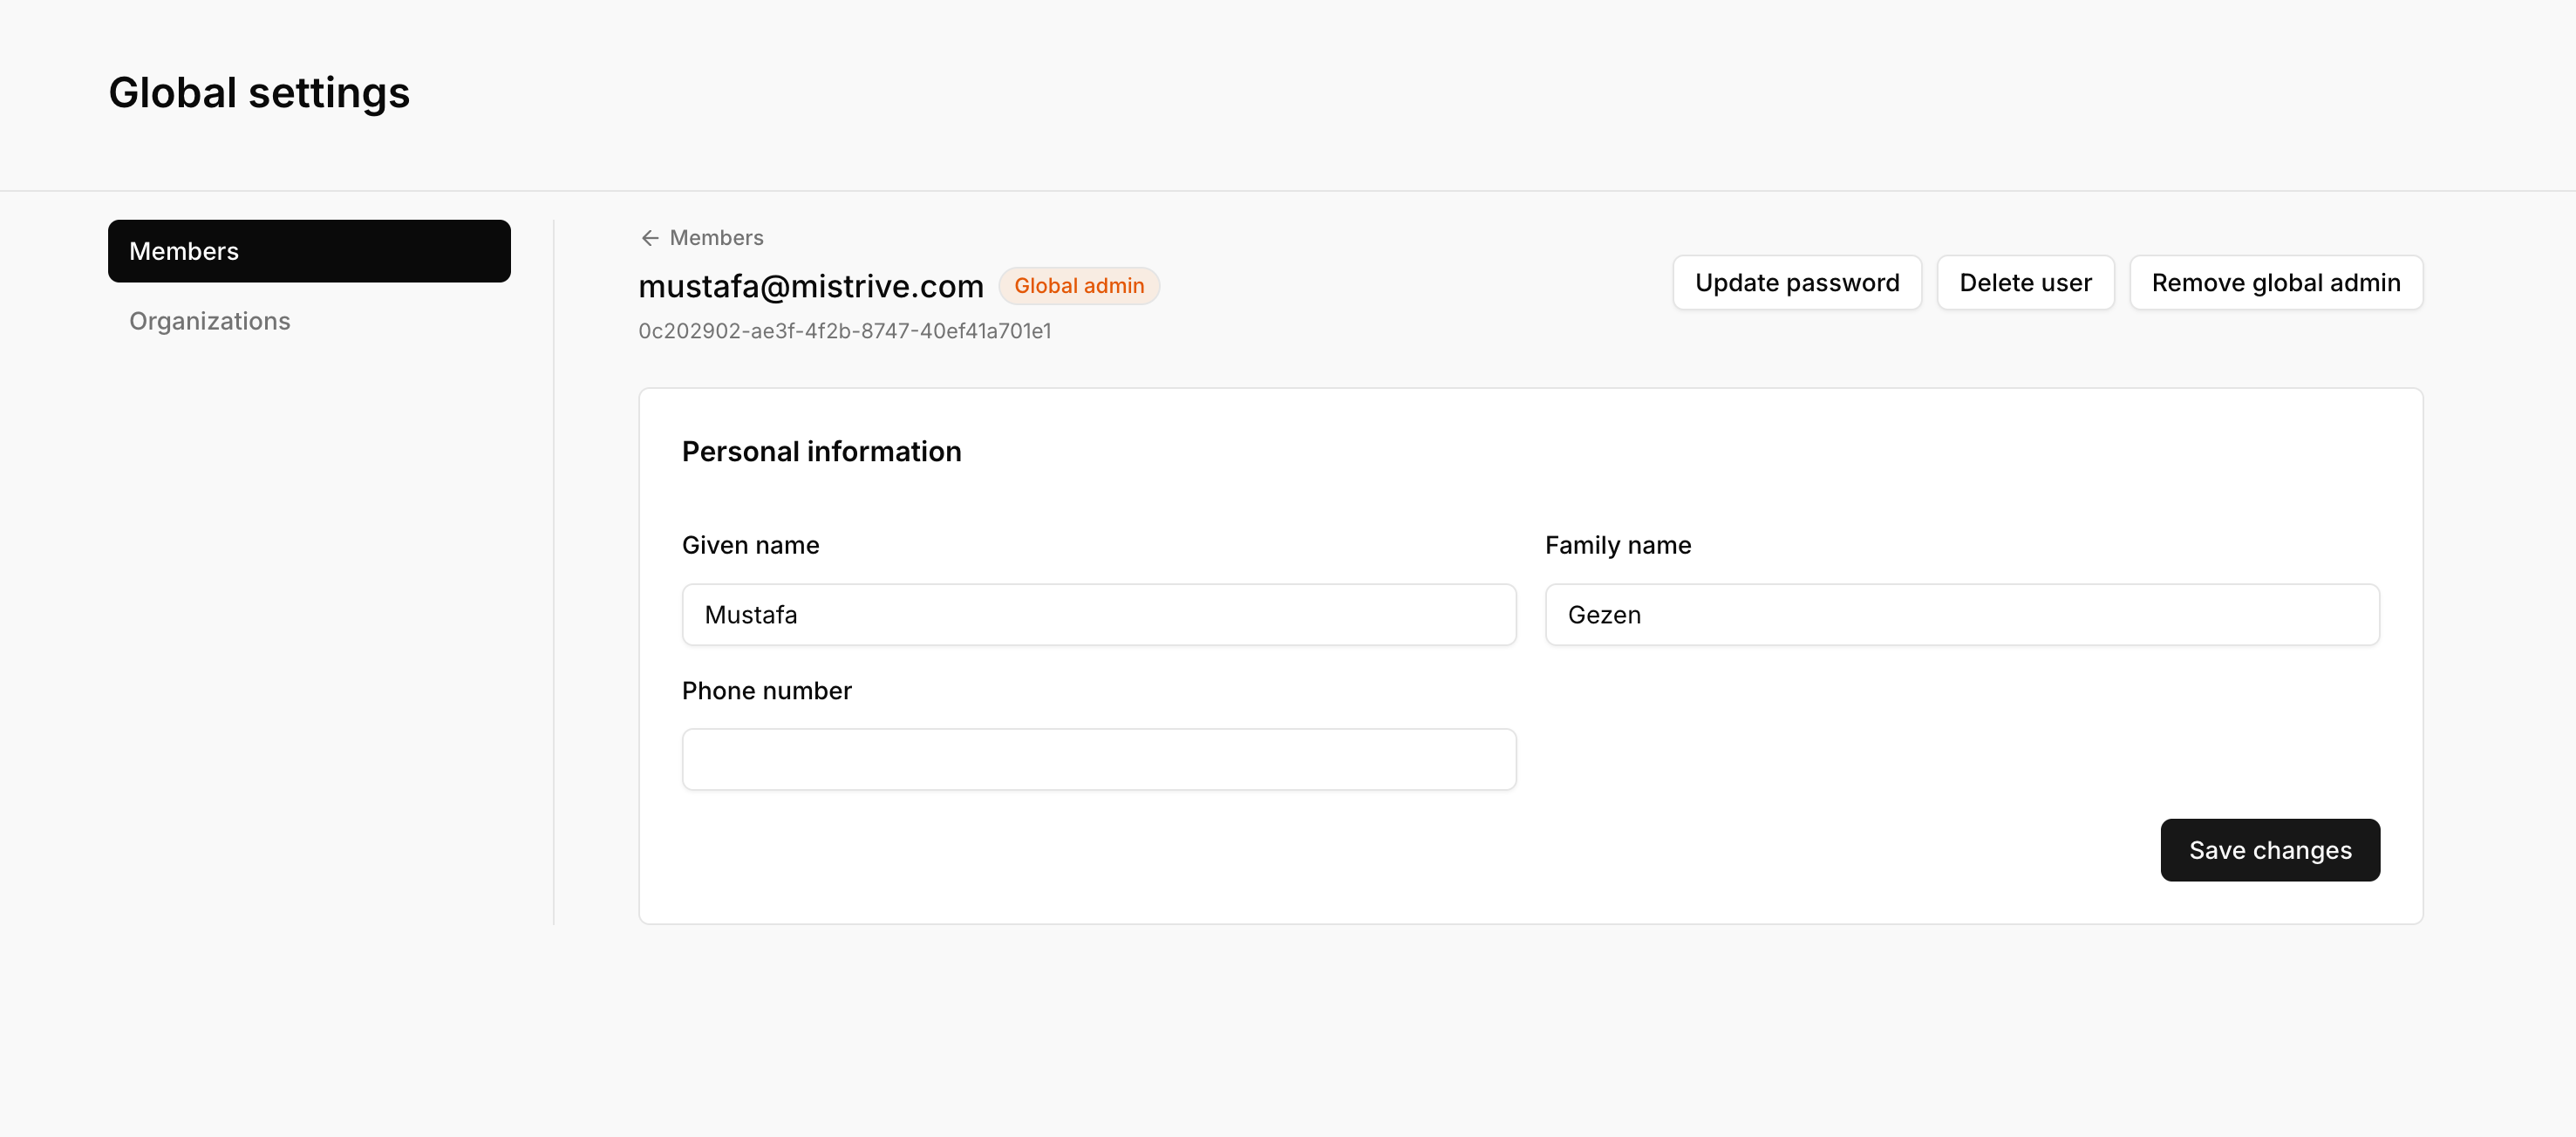
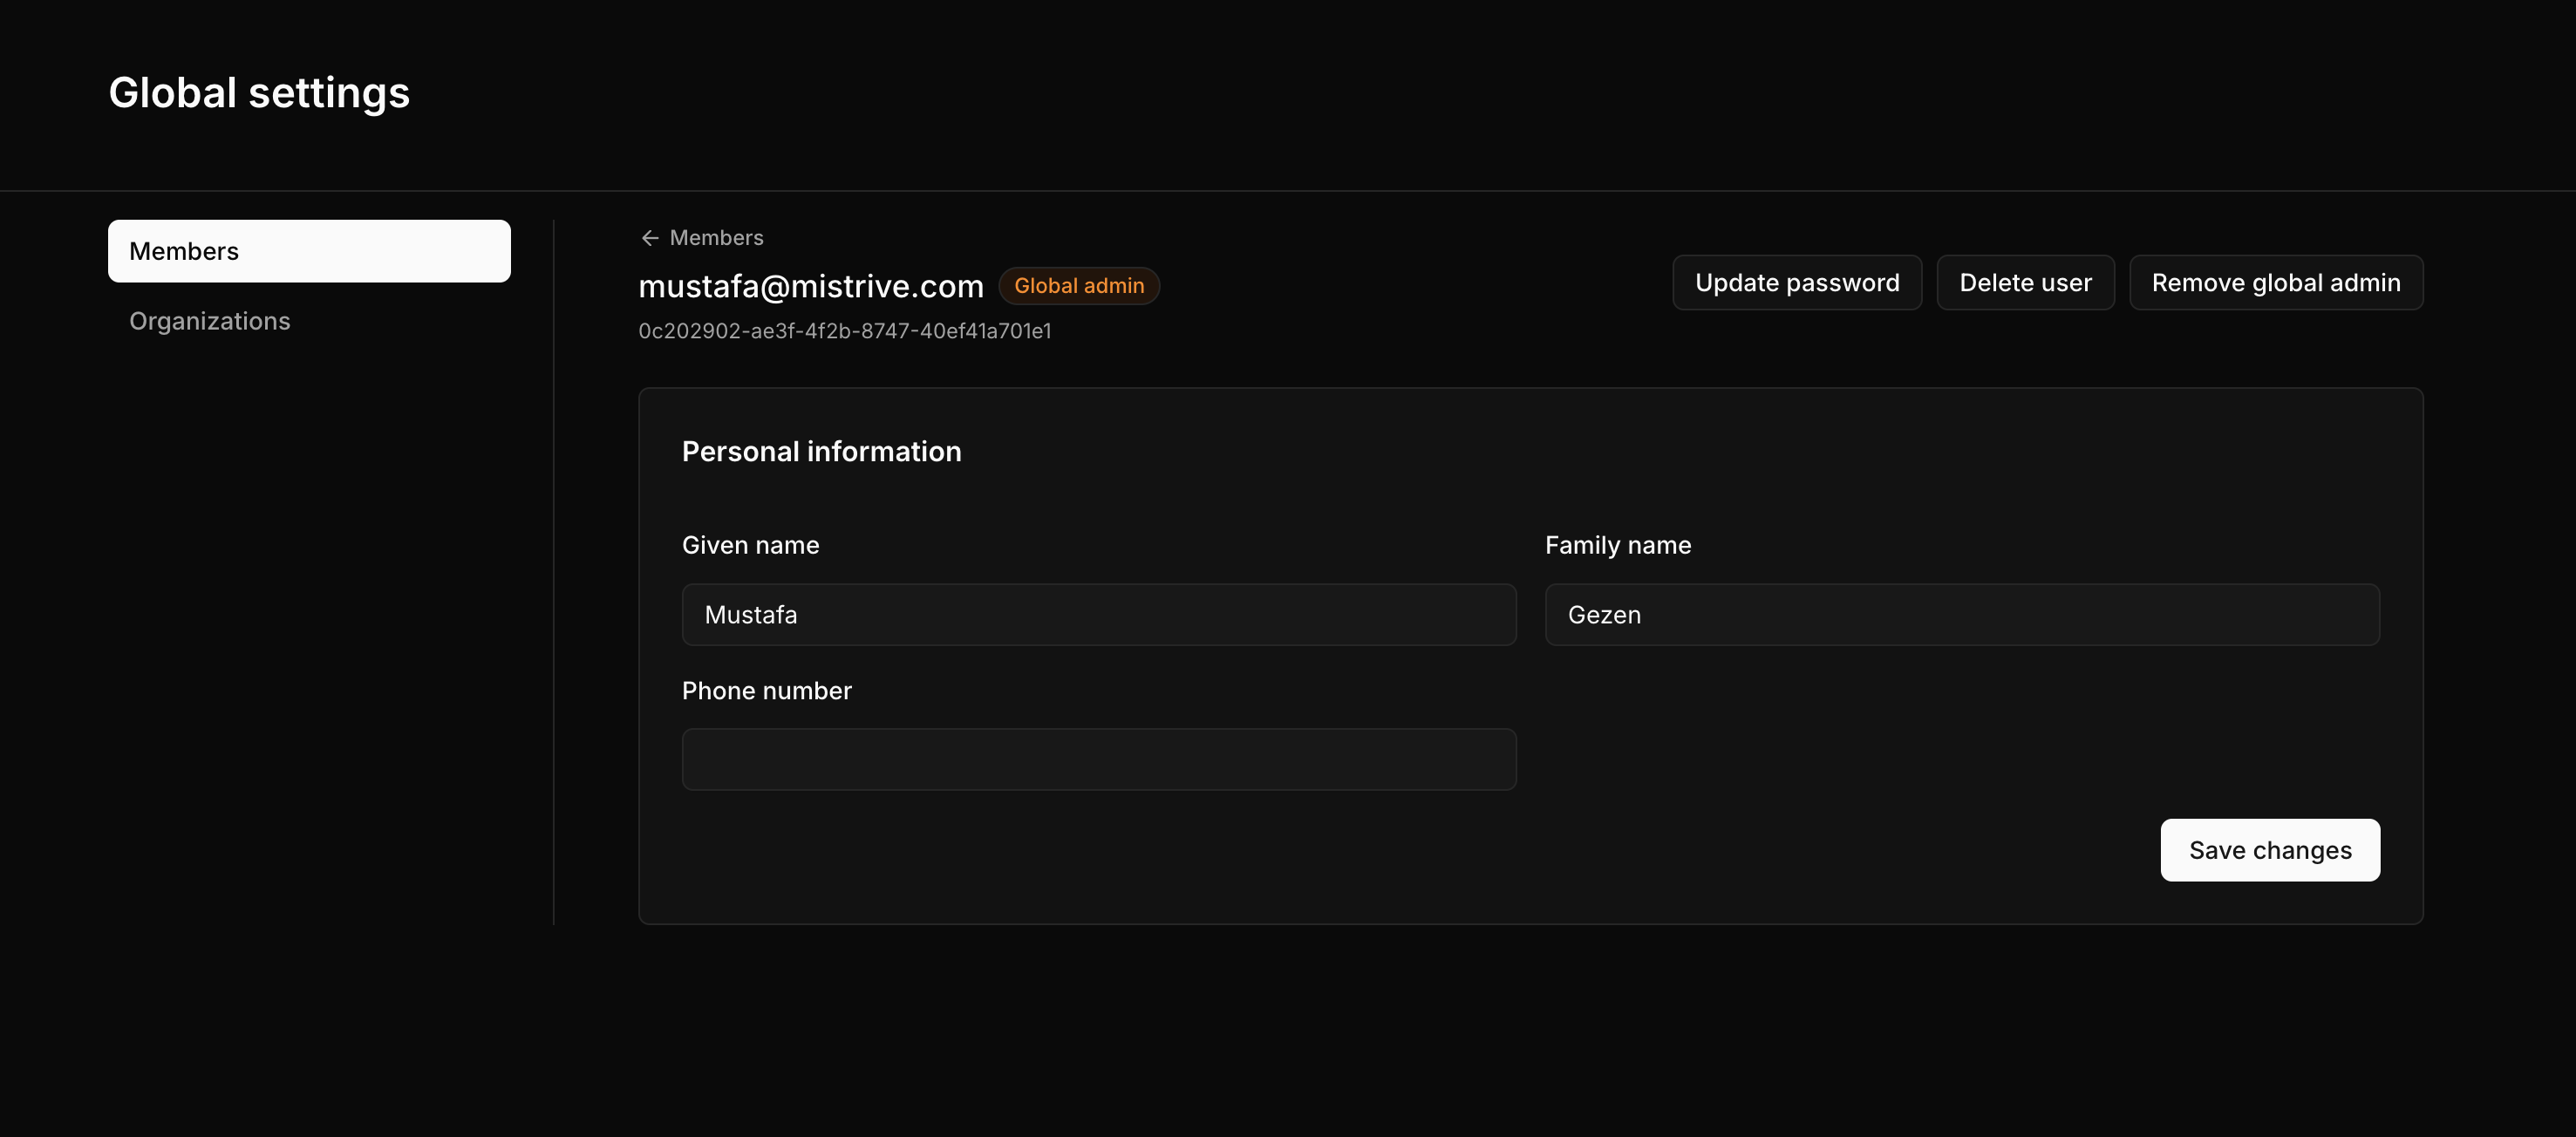
Click the edit icon next to any user to open their detail page. From here you can update personal information, change passwords, manage admin status, and control account state.
Share the initial password with the user through a secure channel. Users can change their own password after signing in through Account Settings.
## Managing an existing user
Click the edit icon next to any user to open their detail page. From here you can update personal information, change passwords, manage admin status, and control account state.
 ### Changing a user's password
As an administrator, you can reset any user's password without knowing their current password.
Navigate to Global Settings and click the edit icon next to the user.
Click the **Update password** button in the actions area.
Enter the new password twice to confirm. Passwords must be at least 8 characters.
Click **Update password** to apply the change. The user's existing sessions remain active.
Users can change their own password through **Account Settings** without administrator intervention. This requires knowing their current password.
### Making a user a global administrator
Global administrators have full access to manage all users, organizations, and platform settings.
Navigate to Global Settings and click the edit icon next to the user.
Click **Make global admin** in the actions area. The change takes effect immediately.
The user will see "Global admin" badge next to their name and gain access to Global Settings.
To remove administrator privileges, click **Remove global admin** on the same page.
Ensure at least one global administrator account exists at all times. The system prevents removing admin privileges from the last remaining administrator.
### Scheduling a user for deletion
Deleting a user places their account in a deletion state rather than removing it immediately. This provides a grace period during which the account can be restored.
Navigate to Global Settings and click the edit icon next to the user.
Click **Delete user** and confirm the action. The account enters the "In deletion" state.
Users in the deletion state:
* Cannot sign in to the platform
* Retain their organization memberships and project access (frozen)
* Can be restored by an administrator
Actual deletion of user data is not yet implemented. Users will remain in the "In deletion" state indefinitely until deletion is implemented or they are restored.
### Restoring a deleted user
Users scheduled for deletion can be restored to active status.
Navigate to Global Settings and find the user (they will show "In deletion" badge).
Click **Restore user** and confirm. The account returns to active status.
Restored users regain access to all their previous organization memberships and project permissions.
## User states
Users can be in one of three states:
| State | Description |
| --------------- | --------------------------------------------------------------- |
| **Active** | Normal operating state. User can sign in and access resources. |
| **Disabled** | Account is disabled. User cannot sign in but data is preserved. |
| **In deletion** | Scheduled for deletion. User cannot sign in. Can be restored. |
## Self-service account settings
Users can manage certain aspects of their own account without administrator intervention:
* **Change password** — Users can change their own password through Account Settings (requires current password)
* **View organizations** — Users can see which organizations they belong to
* **Update personal information** — Users can update their own name and contact details
Access Account Settings from the user menu in the top-right corner of the management console.
### Changing a user's password
As an administrator, you can reset any user's password without knowing their current password.
Navigate to Global Settings and click the edit icon next to the user.
Click the **Update password** button in the actions area.
Enter the new password twice to confirm. Passwords must be at least 8 characters.
Click **Update password** to apply the change. The user's existing sessions remain active.
Users can change their own password through **Account Settings** without administrator intervention. This requires knowing their current password.
### Making a user a global administrator
Global administrators have full access to manage all users, organizations, and platform settings.
Navigate to Global Settings and click the edit icon next to the user.
Click **Make global admin** in the actions area. The change takes effect immediately.
The user will see "Global admin" badge next to their name and gain access to Global Settings.
To remove administrator privileges, click **Remove global admin** on the same page.
Ensure at least one global administrator account exists at all times. The system prevents removing admin privileges from the last remaining administrator.
### Scheduling a user for deletion
Deleting a user places their account in a deletion state rather than removing it immediately. This provides a grace period during which the account can be restored.
Navigate to Global Settings and click the edit icon next to the user.
Click **Delete user** and confirm the action. The account enters the "In deletion" state.
Users in the deletion state:
* Cannot sign in to the platform
* Retain their organization memberships and project access (frozen)
* Can be restored by an administrator
Actual deletion of user data is not yet implemented. Users will remain in the "In deletion" state indefinitely until deletion is implemented or they are restored.
### Restoring a deleted user
Users scheduled for deletion can be restored to active status.
Navigate to Global Settings and find the user (they will show "In deletion" badge).
Click **Restore user** and confirm. The account returns to active status.
Restored users regain access to all their previous organization memberships and project permissions.
## User states
Users can be in one of three states:
| State | Description |
| --------------- | --------------------------------------------------------------- |
| **Active** | Normal operating state. User can sign in and access resources. |
| **Disabled** | Account is disabled. User cannot sign in but data is preserved. |
| **In deletion** | Scheduled for deletion. User cannot sign in. Can be restored. |
## Self-service account settings
Users can manage certain aspects of their own account without administrator intervention:
* **Change password** — Users can change their own password through Account Settings (requires current password)
* **View organizations** — Users can see which organizations they belong to
* **Update personal information** — Users can update their own name and contact details
Access Account Settings from the user menu in the top-right corner of the management console.